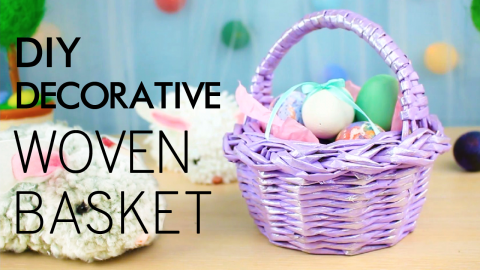
How to Make a Decorative Paper Basket
Today we'll craft a lovely handmade paper basket which you use for sweets and cookies. This DIY decorative paper basket will perfectly adorn a holiday table!
We’ll need:
- color paper;
- multipurpose glue;
- white glue;
- ribbons.
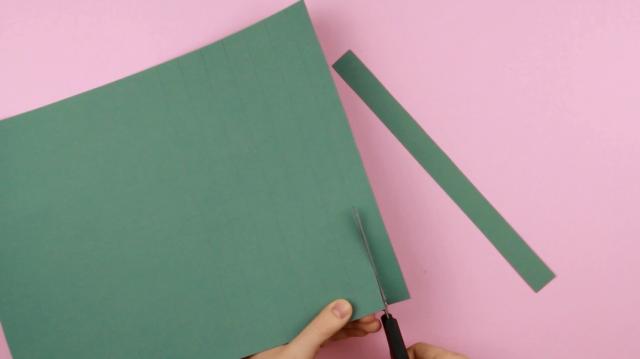
Mark off an inch strips of the same length on a color paper piece. Join the marks.
Cut out with scissors. Repeat for another color.
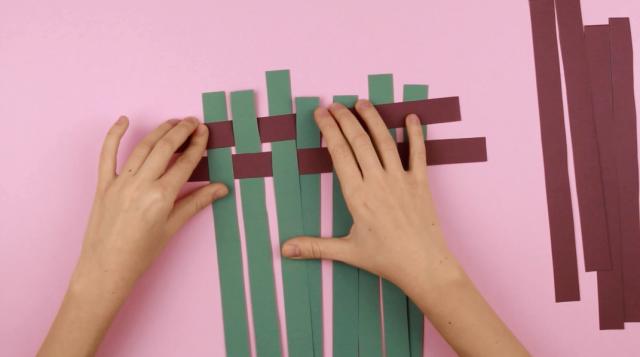
Place the strips one by one to form a square.
Take strips of another color and weave the first ones to create chequer pattern.
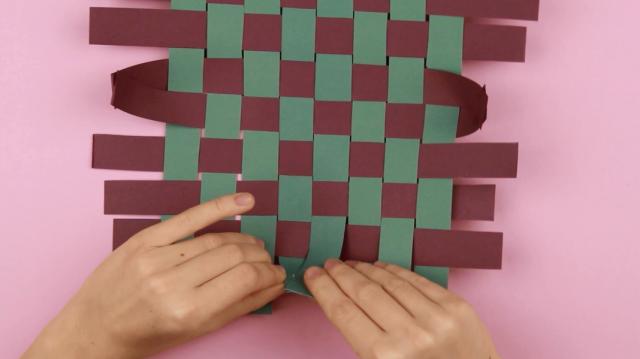
Shape the square and continue.
Stick the strip ends using white glue. Start with the middle of each side. Press over to glue well.
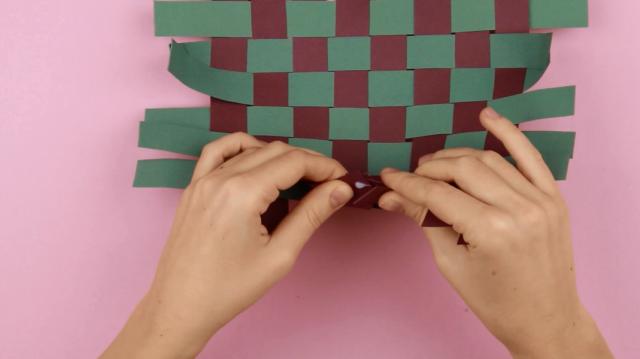
Add next strips one by one to the glued central ones.
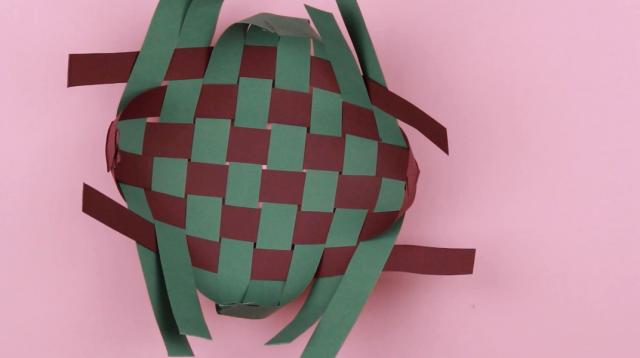
As far as more strips are glued together the construction shrinks shaping a basket.
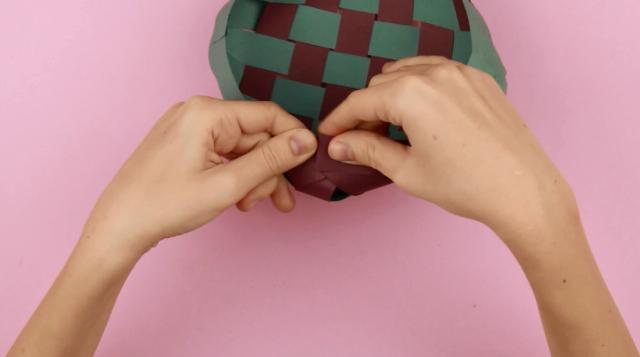
The last attachment.
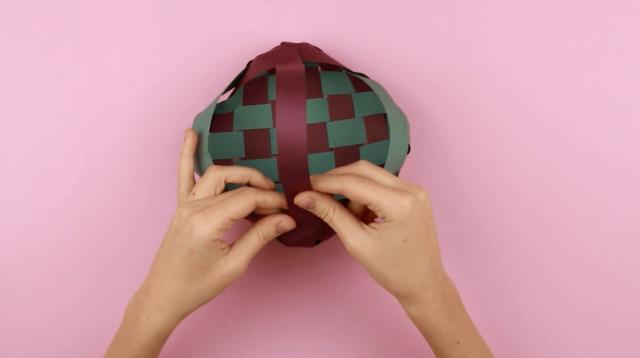
Let’s make handles. Attach strips to the corners.
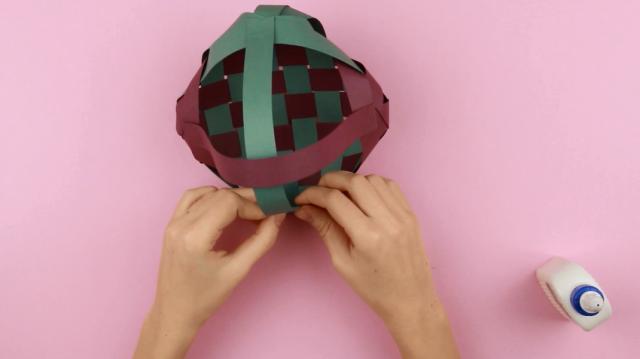
We’ll make two cross handles.
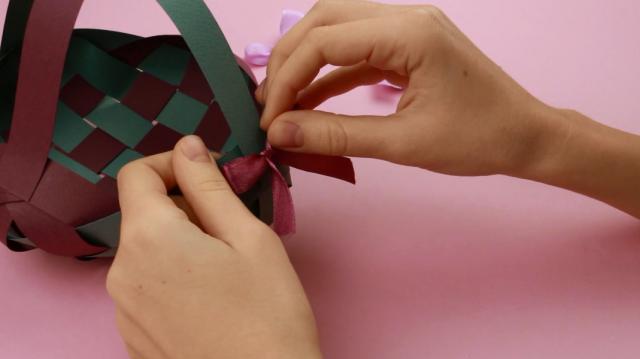
Take a ribbon and tie a small bow. Cut out the excess.
We need four bows. Make two bows of one color and the other two of another.
Add multipurpose glue to a bow and stick it to the handle base to both decorate the craft and conceal the attachment place.
Alternate bow colors.

The handmade paper basket is ready. You can put in sweets and cookies. This lovely basket will perfectly decorate a holiday table.
If you're like this project, check out our YouTube channel: TroomTroom
