DIY Decorative Easter Rabbit
In this tutorial we'll sew a funny pom pom bunny for home. We hope that these handmade Easter rabbits will become a cute decor elements for your Easter interior!
We’ll need:
- very thick wooden yarns;
- cardstock;
- black stones for eyes and a pink button for a nose;
- felt for ears.
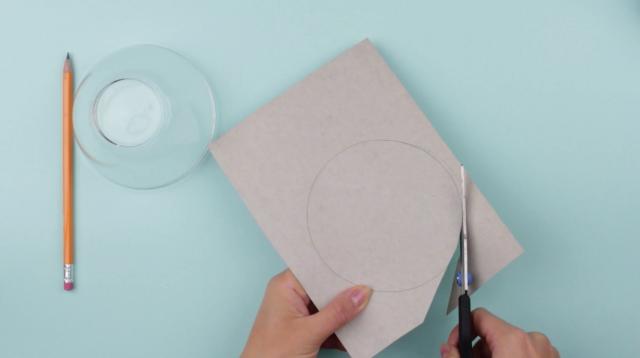
Take cardboard and draw a circle tracing a small round plate. Cut out.

Draw a smaller circle in the center of the cut one.
Cut it out. You’ll get a C-shaped stencil.
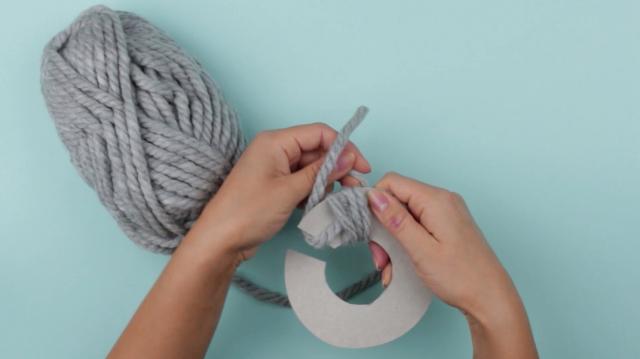
We’ll need a small piece of yarn.
Place it on the stencil and start wrapping them together. We need to get a tight pompom that’s why we should make a lot of wraps.

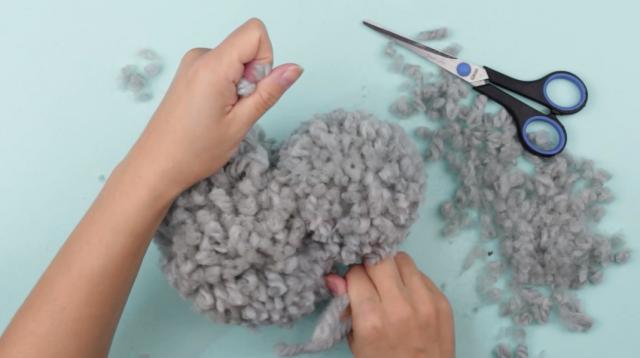
Cut out the threads across the outer edge. Use scissors.
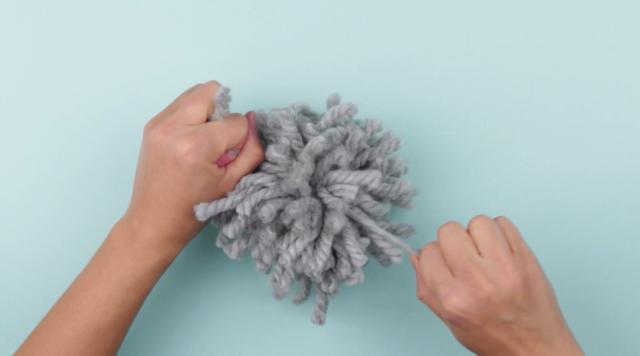
Hold the yarns in the center to keep the pompom in place.
Tie the yarn pieces in the middle with the thread we wrapped around.
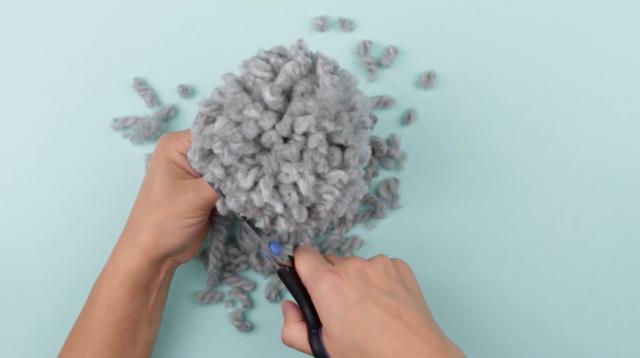
Form a ball shape cutting out the excess. Don’t cut out the fixing thread.
You should make three pompoms of different size to assemble a rabbit: a head, a body and a tail.
Make a bigger stencil for the body. Follow the same steps.
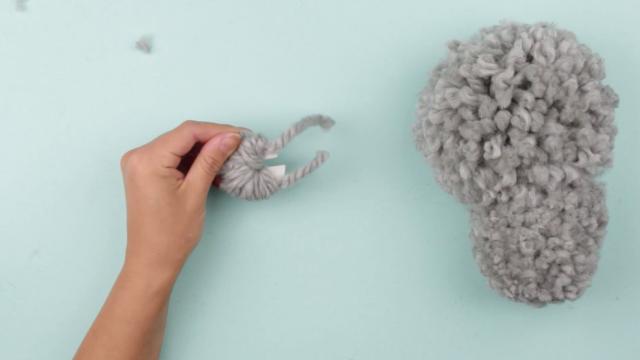
Tie the pompoms with the fixing threads.
Now you can cut them out. Define the shape.
The rabbit base is ready.
Now make the tail pompom following the same steps.
The tail is ready. Attach it using a hot glue gun.
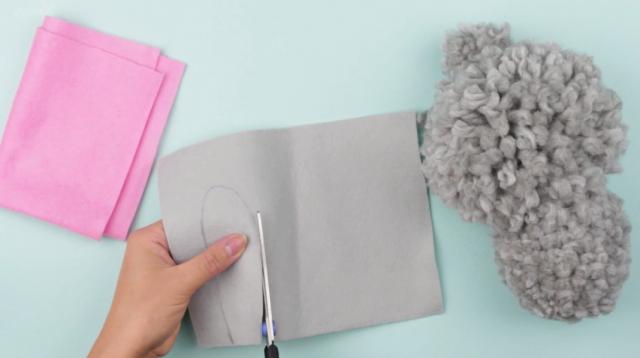
Now we’ll make the ears. Take felt.
Draw a long ear silhouette on the grey fabric. Cut out.
To make the second detail just the same, use the cut ear as a pattern. Cut out.

Make the pink middle part in the same way. It should be a bit shorter and thinner. Cut out.
Stick the details.

Add some glue and fold the bottom part of the ear for a natural look.
Attach the ears using the hot glue gun.
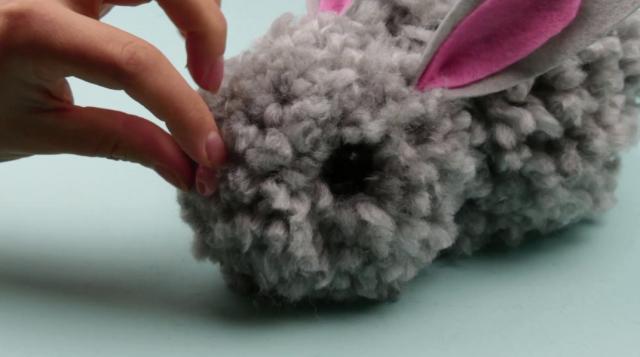
Stick the eyes. Add a nose.
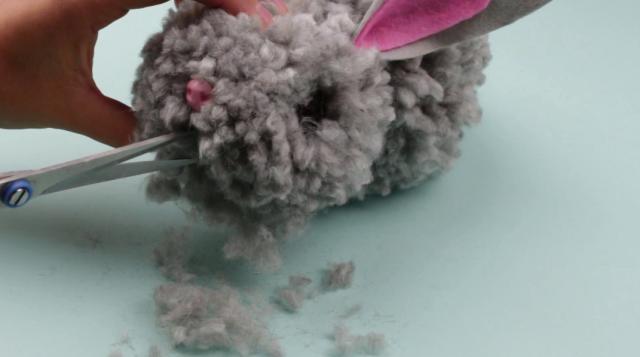
Cut out the excess threads.
Cut out a triangle in the bottom part of the muzzle for a natural look.

Done. These lovely decorative pompom rabbits may be of different size and color. You can create a whole family!
If you're like this project, check out our YouTube channel: TroomTroom