DIY Woven Rope Basket
How to make DIY woven basket. In this tutorial we'll craft an unusual rainbow color splashed basket. This cute coiled rope basket will become a wonderful decor element!
Check out the video above to learn how to make your own!
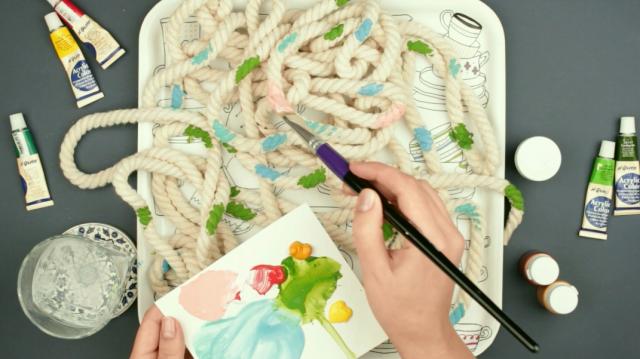
Begin by decorating the rope. Take acrylic paints of bright rainbow colors, a bit of gold and bronze.
Water.Brush. Add random paint stains over the rope. Let dry.
Secure the rope ends with a tape.
Take a bowl to shape the basket. We’ll weave it over.
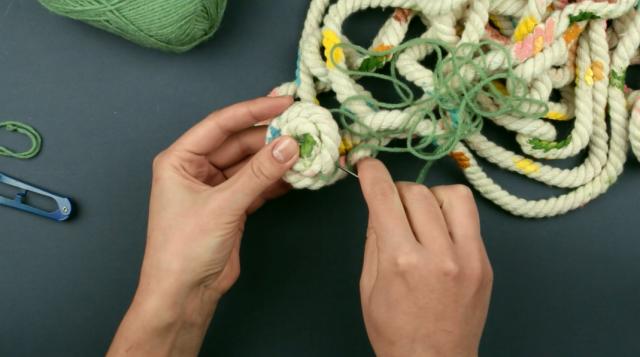
Use a large-eye blunt needle to thread a knitting yarn.
Make a tight “snail”. Pierce it with a needle crosswise. Be careful not to tangle the thread.
Add another rope coil. Secure by piercing crisscross again.
The base center is ready. You can start weaving.
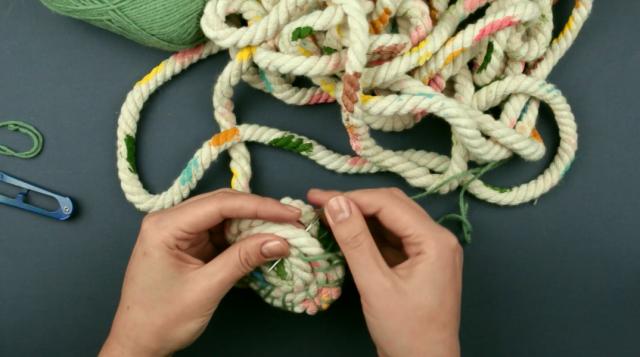
Put the needle between the first and second outer coils from beneath. Add another coil.
Wrap two outer coils and put the needle between the layers from beneath.
Make the same again. Pull up the thread tight.
Now make a double wind around the outer coil.
Wrap two layers again. Pull up the thread tight. Add another rope coil.
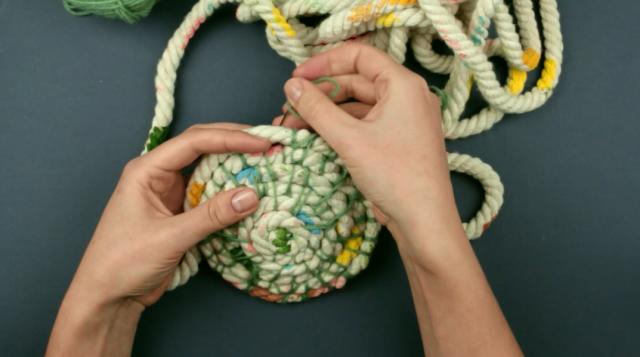
Alternate wrapping around one- and two- outer layers.
At the end of the third layer put the needle over the second coil and wrap the third coil putting the needle from beneath.
Put the needle out. And wrap one outer coil. Then two outer ones.
Again the third outer coil, two outer ones together, one outer coil. Continue changing the wraps.
As far as the coils are added continue winding around three outer layers changing the wraps at random.
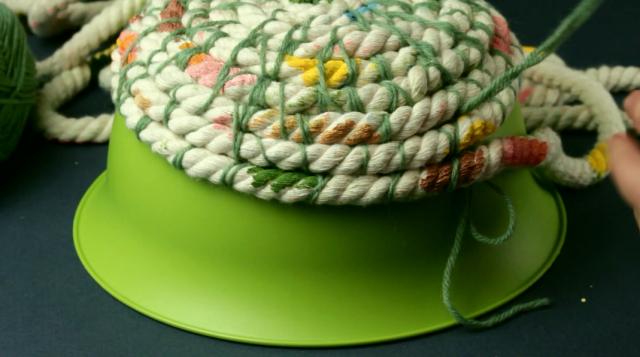
Turn the bowl over and place the woven basket bottom onto the bowl.
Weave the bowl around to form the walls.
Coil and fasten the layers one by one following the bowl shape.

The basket walls are ready. You can remove the base.
Add a few coils more until the rope end. Secure the rope end.
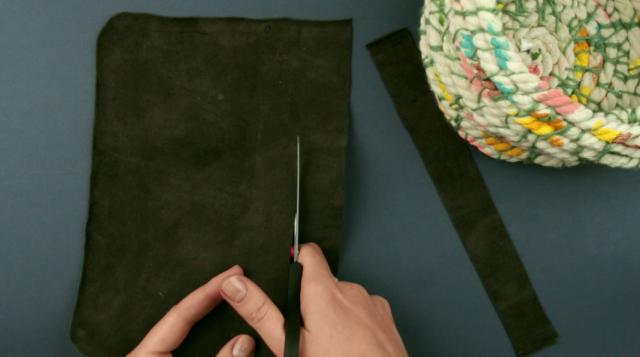
Add handles. Measure two 1 inch leather strips. Cut out.

Pierce a hole with an awl.
Put in a special screw you can buy in a supply shop. It’s an easy way of securing as it doesn’t require any additional tool.
Attach the handle to the front side of the basket.
Twist a nut on the inside. Secure the other handle in the same way.
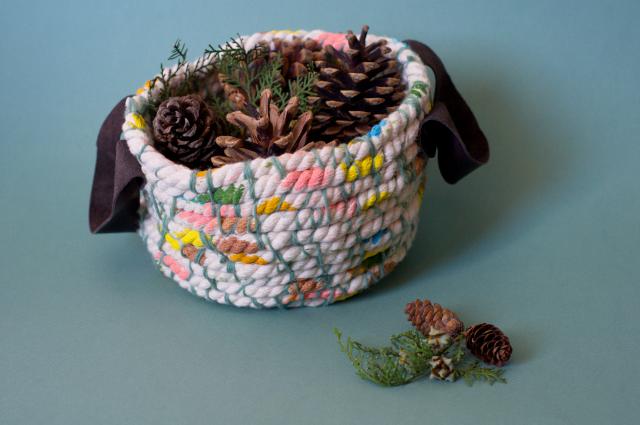
The cute convenient basket is ready to accomplish your interior.
If you're like this project, check out our YouTube channel: TroomTroom