DIY Vintage Photo Frame In Decoupage Technik
How to make a vintage photo frame. In this tutorial we’ll show you a new decoration idea of photo frame in decoupage technic. This leather photo frame will be a stylish interior decoration or a perfect gift for a vintage lover!
Check out the video above to learn how to make your own!
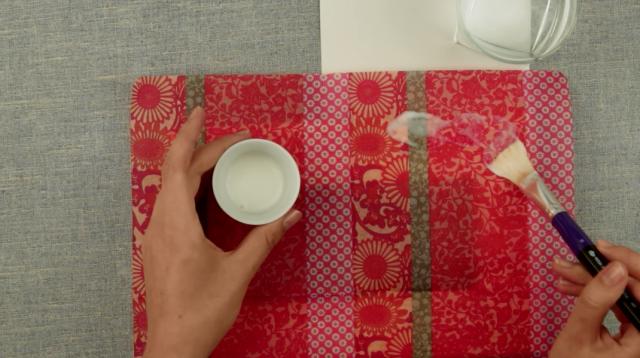
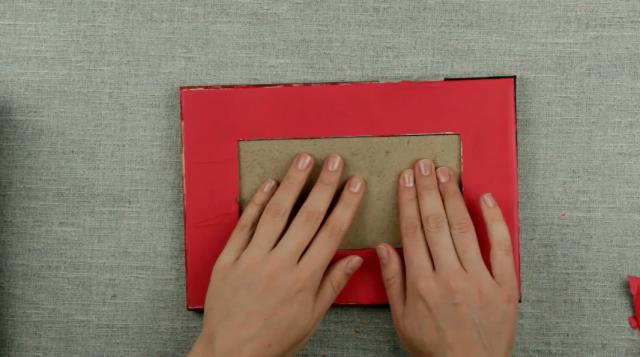
Start by making decoupage glue. Just mix white glue with water half and half. Remove the back cover.
We have prepared a decoupage napkin by removing extra layers. So we’ve left the upper layer with the picture on.
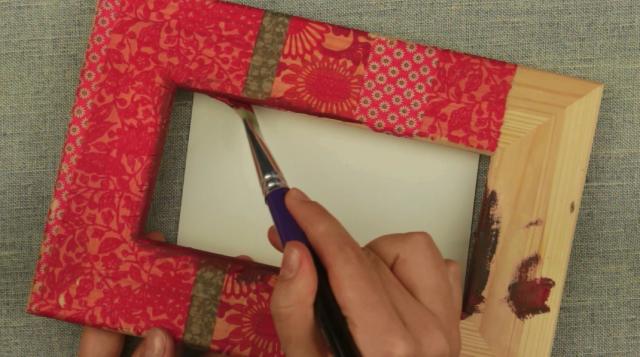
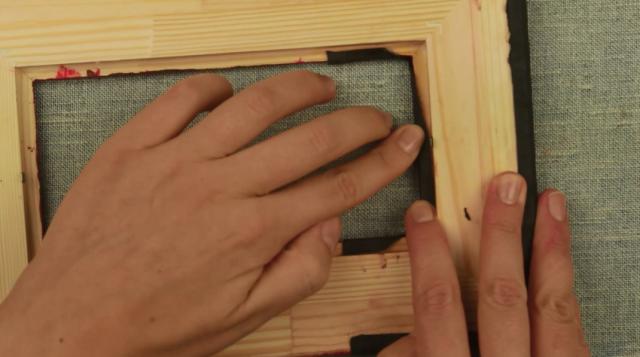
Choose the pattern fragment. Attach the napkin to the frame. Cover it with the glue mixture using a brush.
Move from the center to the edges. Carefully pull the edges to avoid wrinkles.
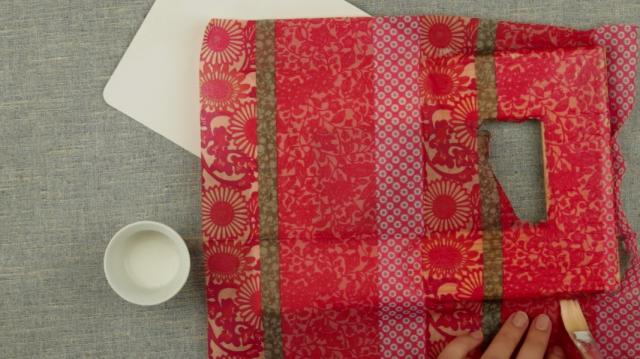
You can tear off the excess napkin with the brush. Be careful not to remove too much gluing the edges if needed.
Leave some part of the frame uncovered. Carefully glue the edges.
We have applied the decoupage technic as a basic way to decorate the frame.
Now we’ll need acrylic paints.
Take cranberry and black colors and squeeze the paint into a cup.
Lay a protecting cover.
Take the brush and mix the paint to get deep cranberry shade.
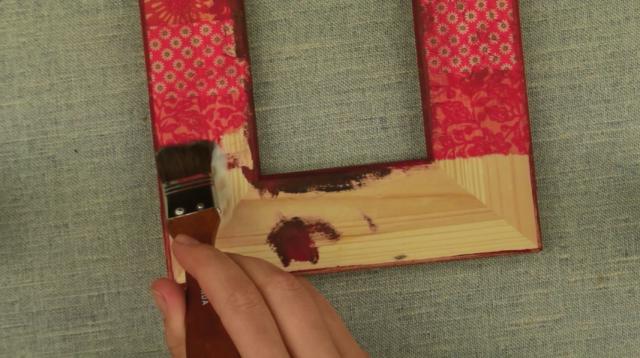
Add the paint to the inner and outer frame edging.
Touch the napkin to create smooth color transition. We are actually distressing the frame. We do need this effect to make a true vintage frame.
Paint the wood sides thoroughly.
We’ve finished with the decoupage part. Let’s decorate the rest. Cover the wood surface with thick coat of white glue.
Keep in mind the protecting cover.
Add some glue to the neighboring decoupage part.
Cover the sides carefully.
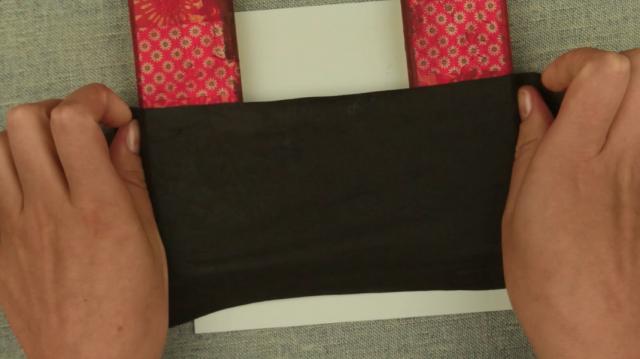
Attach a dark piece of natural or imitation leather. Pull up well and smooth pressing over the sides.
Add glue to the back side of the frame.

Pull well and stick the leather. You can smooth it with a ruler.
Cut out the excess. Use a craft knife and ruler.
Use clothespins to fasten the corners.
When the glue is dry cut out the excess leather at the corners.
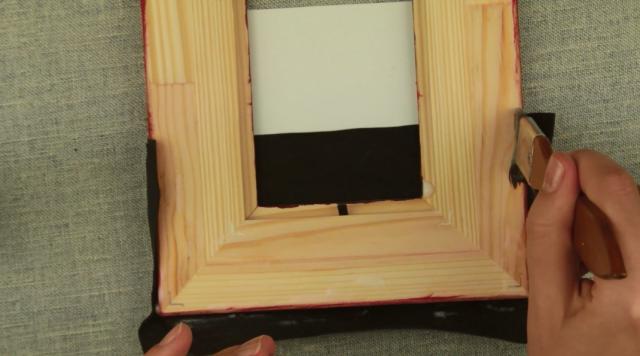
Let’s make the inner edging neat. Make three small cuts on the leather.
Smooth to see the frame edge. Make another diagonal cut to the corner.
Fold the leather to cover the sides. Repeat for the other side.
Cover the back side of the frame and leather with glue.
Cut out the excess. Add some more glue.
Attach the leather to the sides. Press down with the back cover to fasten well.
Add some glue to the leather and napkin border.
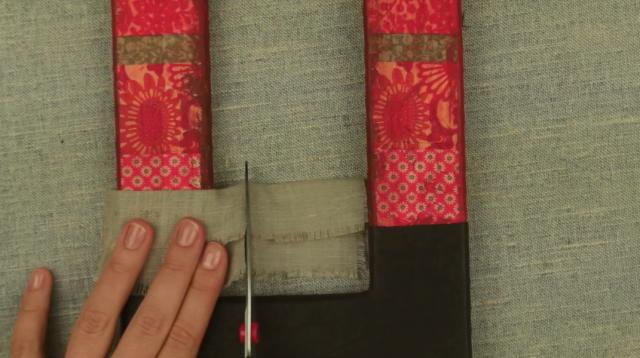
Attach a grey fabric piece to cover the junction. Cut out the excess.
Cut out the second piece along. Add glue to the other border.
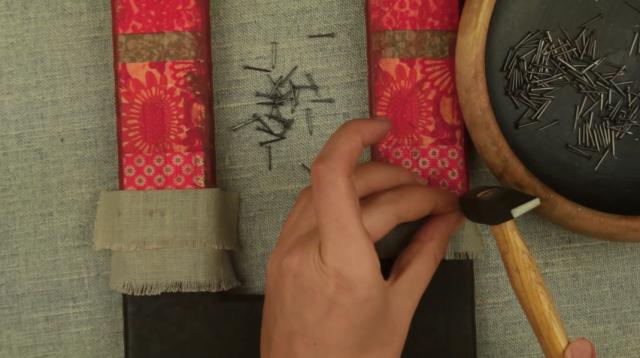
Attach the cloth. Hammer a few nails in the fabric part for extra embellishment.
Remove the back cover and decorate the back side of the frame.
Take cranberry pink cardstock.
Cover the frame surface with white glue.
Thoroughly attach the cardboard.
Smooth well using a piece of thick cardstock.
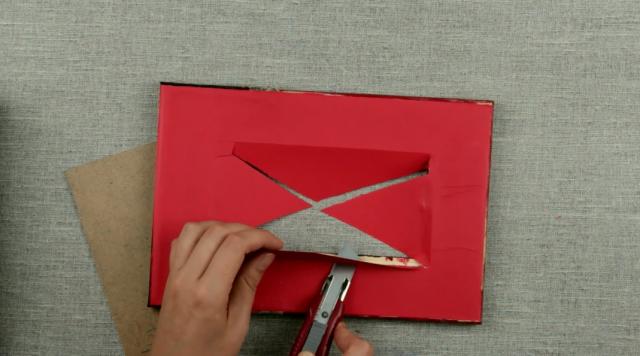
Cut out the excess. Cut out the inner part.
Put the back cover in.
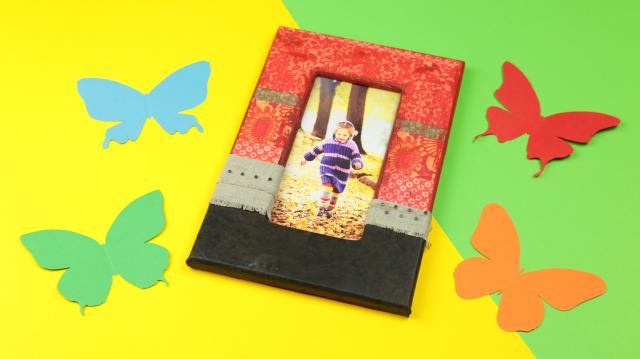
This leather photo frame will be a stylish interior decoration or a perfect gift for a vintage lover.
Materials we used for this project:
- water;
- wood frame;
- white glue;
- brush;
- decoupage paper napkin;
- cup to mix glue and water.
If you're like this project, check out our YouTube channel: TroomTroom