DIY Plaster of Paris Flower Photo Frame
How to make DIY plaster of Paris flower photo frame. In today's tutorial you will learn how to make plaster dipped flowers to decorate a picture or photo frame. We're sure that this gorgeous photo frame will become a perfect gift for your friends!
Check out the video above to learn how to make your own!
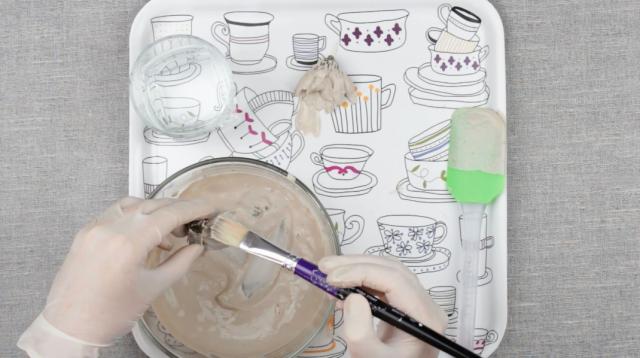
Add a little bit water at a time. Stir the mixture thoroughly but gently - to avoid the creation of bubbles.
Another tip - for a longer working time with plaster use really cold water.
As the plaster mixture dries really quickly, make just enough to dip one - two flowers at a time.
Now do everything really fast – flip the flower over and dip it into the plaster mixture. Make sure each petal is perfectly coated.
Carefully shake off the excess plaster mixture and place it on the plastic tray or waxed paper – to peel off flowers easily once they dry out.
Brush any uncoated parts. Shape the flowers.
We left the flowers dry out overnight.
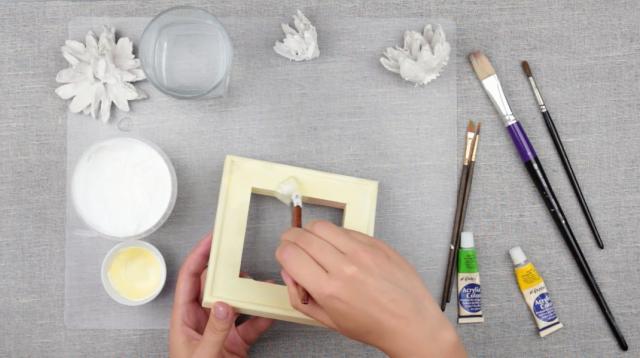
Now let’s decorate a photo frame.
The white ceramic like flowers look really nice on the natural wood texture of the frame. So you might want to glue fix the plaster dipped flowers and just coat with acrylic lacquer.
We’ve decided to paint the frame for a yummy creamy finishing.
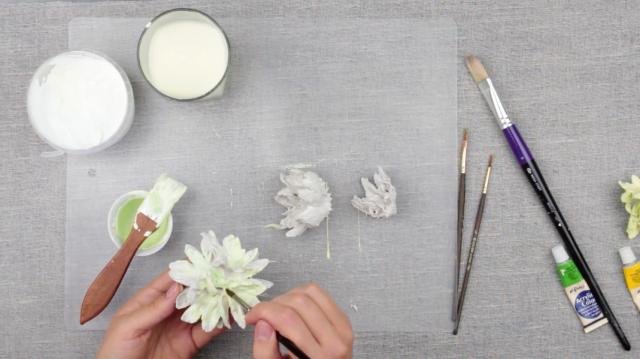
Paint the flowers. Paint thoroughly with a soft brush.
You might also want to tint your plaster flowers by adding some food color or any other water soluble pigment to water before mixing it into powder.
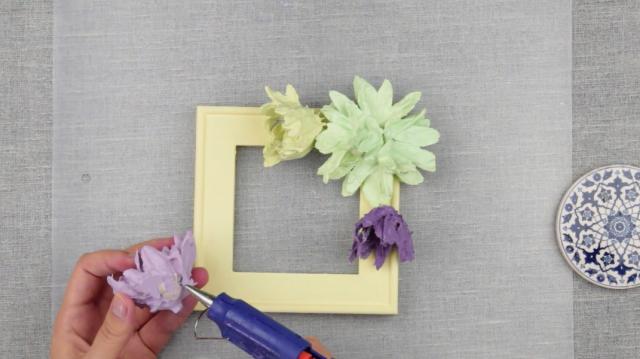
Arrange the flowers before fixing to the frame. Dab some hot glue and press to the frame surface till it cools down.
Do the same with the rest of the flowers.
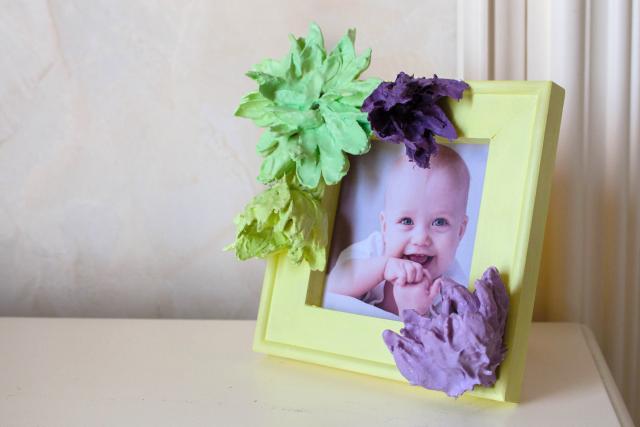
Here we are! A perfect gift idea and an absolutely enjoyable craft.
If you're like this project, check out our YouTube channel: TroomTroom
