DIY Minnie and Mickey Decorative Pillow Covers
How to make decorative pillow covers. Our new tutorial will help you to decorate ordinary pillow covers with favorite Disney cartoon mice characters Minnie and Mickey. These DIY bed decorations can become a bright design element for kids room interior!
We’ll need:
- two same pillows in white pillow covers;
- character templates that you can find in the attachment to this tutorial;
- fabric markers of black, red and yellow colors.
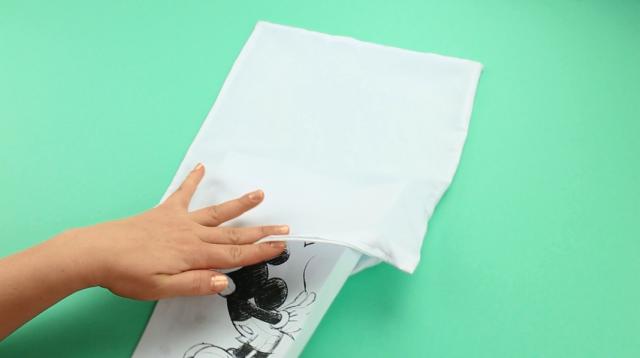
Take off a pillow cover. The job would be much easier if the fabric is slightly transparent.
Put the Mickey template inside. Make sure the marker does not bleed to avoid appearing the picture on the inside.
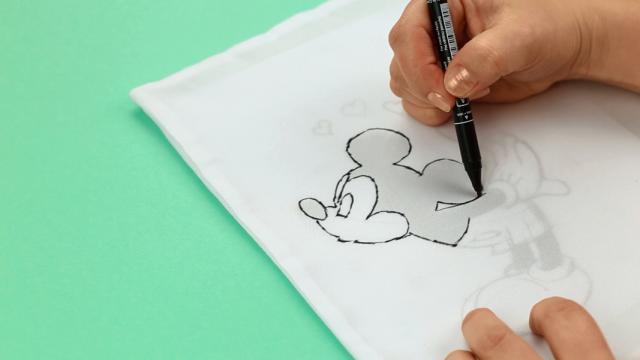
Fix the template with pins to keep it in place.
Trace the outlines with the black marker. Try to draw quickly to make sharp lines.
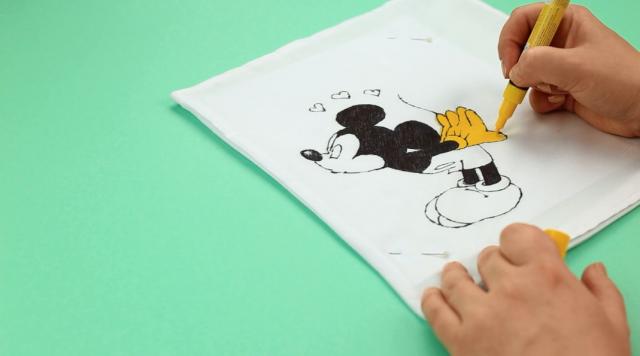
Now shade the black parts. Nose. Head and ears. Legs.
Shade again if needed. Don’t leave gaps.
Cover shoes and gloves with yellow.
Start with the gloves on top not to smudge the drawing.
Now the shoes. Don’t leave empty spaces.
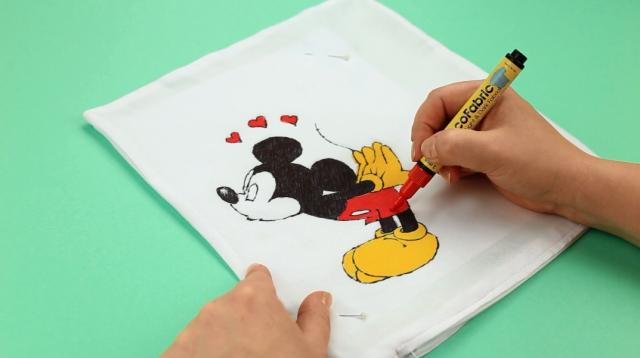
Color hearts red. Repeat for pants.
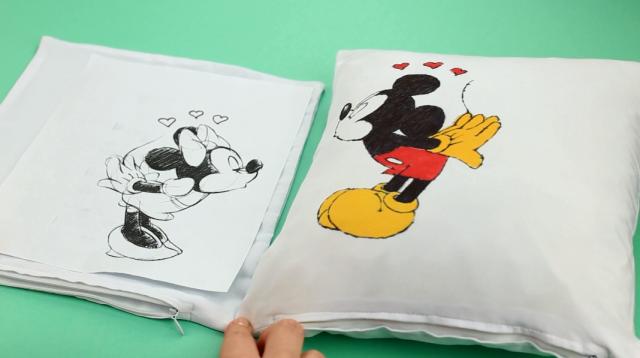
Take on the pillow cover. The first one is ready.
Put the second template to place Minnie opposite Mickey.

Tuck the template inside the pillow cover. Pin it up.

Follow the same steps you did when making the Mickey pillow cover. Trace the figure outlines with the black marker.
Color the black elements. Head. Nose, arms, legs.
Make a bow yellow. Repeat for gloves, belt and shoes.
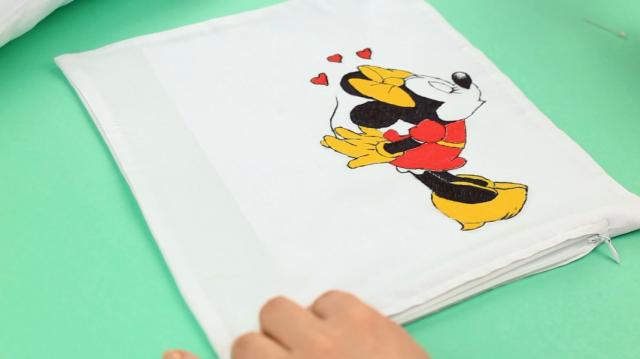
Color hearts red. As well as Minnie’s dress.
Remove the pins. Put out the template.
Now check the fabric marker instructions. In this case we should dry the drawing during a day and then iron from the inside.
You can use and even wash the pillow covers after that.
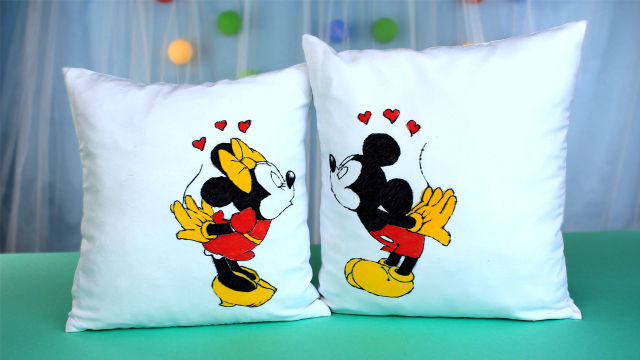
The funny decorative Minnie and Mickey pillow covers are ready to decorate the kids room interior.
Minnie and Mickey patterns download link: http://troomtroom.com/sources/diy_minnie_and_mickey_decorative_pillow_co...
If you're like this project, check out our YouTube channel: TroomTroom
