DIY Mini Gnomes Tutorial
How to make a small gnome for home decor? In this tutorial we will create DIY mini gnomes from cardboard and fur. They are so lovely and very easy to make, that you can even make a gnome family if you wish!
We’ll need:
- fur;
- wooden fabric;
- patterned card stock;
- beads;
- cord;
- pinking shears;
- glue gun.
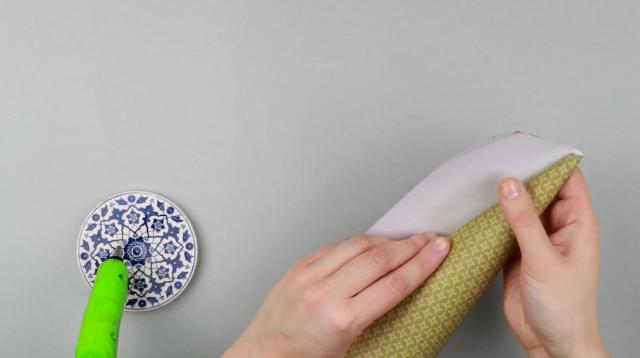
Take a piece of square cardboard and carefully roll into a cone. The gnome size will depend on the cardboard size.
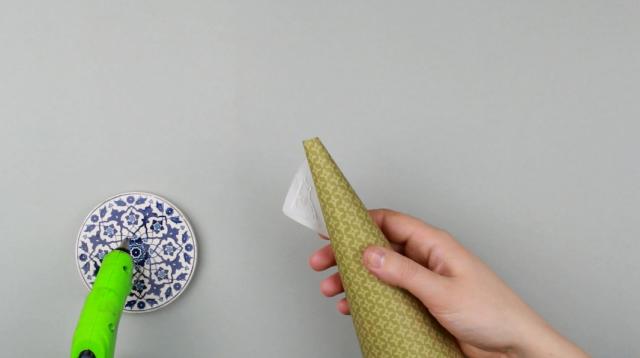
Add glue fixing the cone. Glue a corner.

Cut out the excess.
Take fur and draw a beard. Cut out.
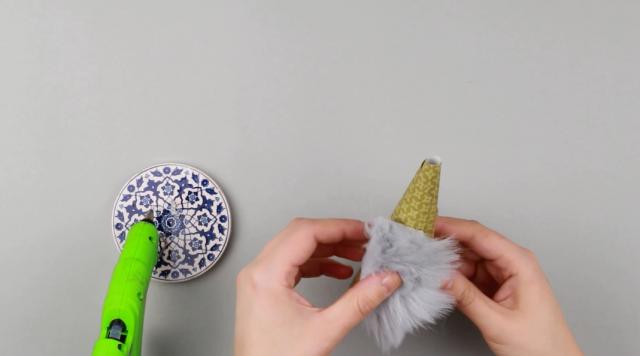
Glue fur to the cone.
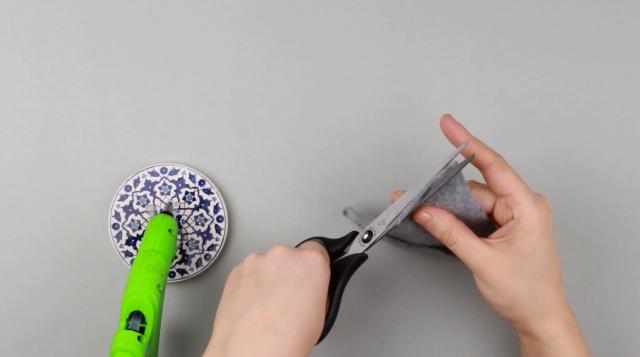
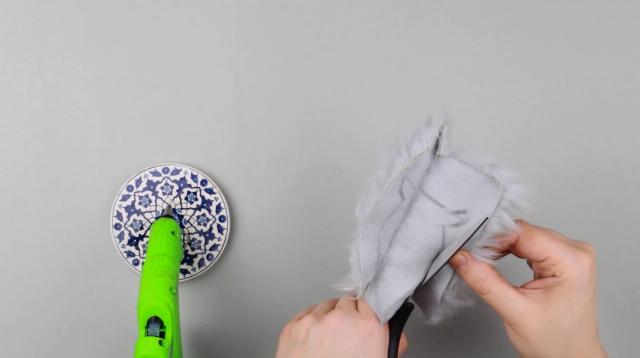
Take grey fabric to make a cap. Cut out the corners.
Try if the cap fits the gnome head.
Cut out the excess forming a triangle.
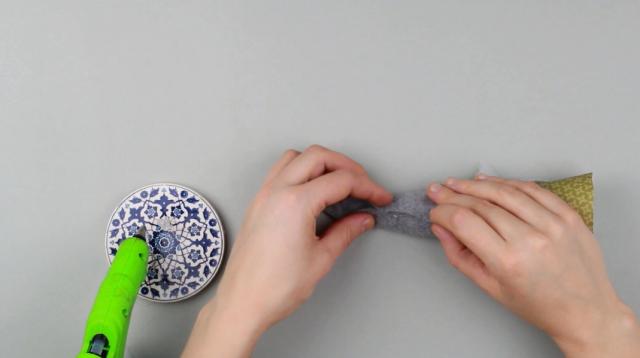
Glue the cap around the cone and across the edge.
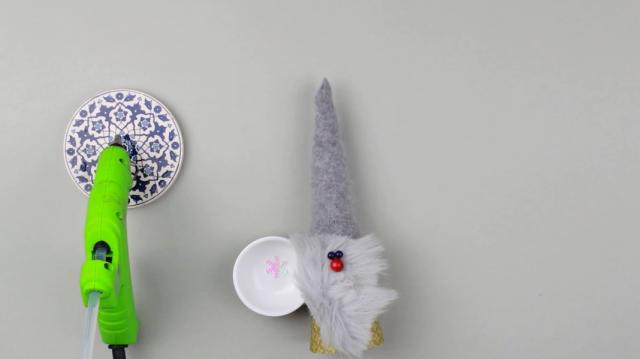
Our gnome’s missing a face. Make a nose from a red bead and eyes from smaller black beads.

Decorate the cap with a snowflake.

Cut the cone with pinking shears from the bottom.

Make another a bit bigger gnome in the same way. Create a gnome family for décor if you wish.
These handmade mini gnomes can become elements of your interior design or funny gift for your close friend.
If you're like this project, check out our youtube channel: TroomTroom