DIY Heart Shaped Wooden Earring Holder
How to make wooden earring holder. This tutorial will show you how to craft a scented heart shaped earring holder. This awesome DIY idea will help you to keep safe your jewelries and scent a room with your favorite aroma!
Check out the video above to learn how to make your own!
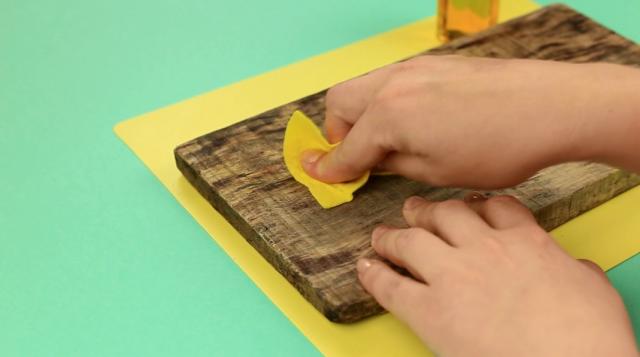
Put a bit of aromatic oil to a cloth.
Smudge the board all over. The oil stains the wood, protects from rot and scents with your favorite aroma. You can use any oil without scent.
Smear the sides over. Coat the back side. Let the oil absorb.
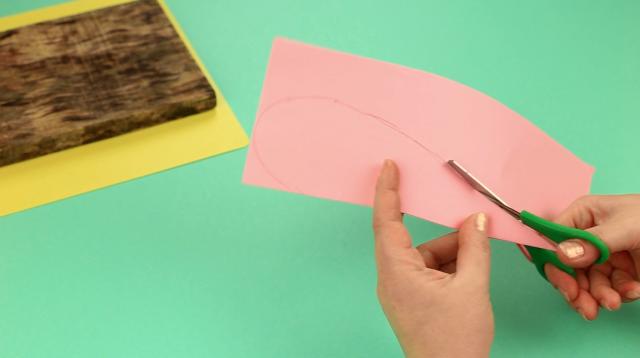
Fold paper in half. Measure out across the crease.
Mark upwards. The dimensions depend on your board size.
Outline a heart shape following the marks.
Cut out the template with scissors. Unfold the heart.
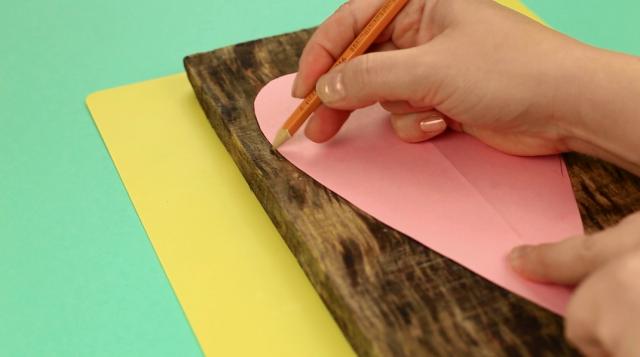
Place it onto the board. The size fits well. Trace the heart.
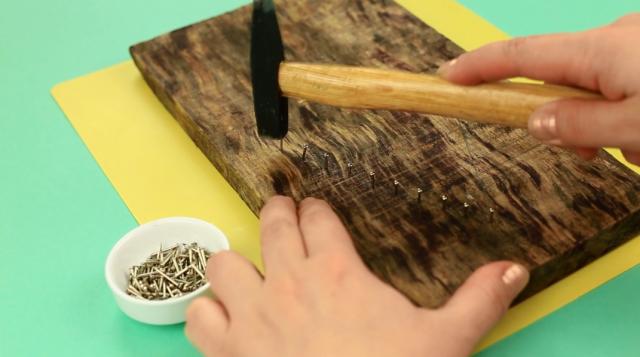
Hit a nail in the lowest heart shape point. Leave about above the surface.
Hit another nail at about beyond the first one on the heart outline.
Continue hitting the nails in equal intervals across the heart shape.
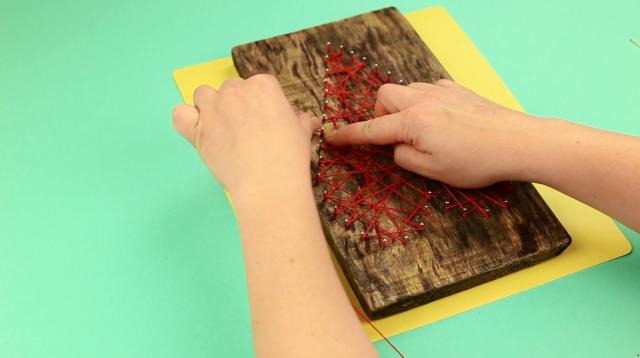
Start winding thread on the top central heart nail.
Fasten the thread by tying a knot.
Join the nails at random to wrap all the elements.
Try to distribute the threads more or less evenly.
OK, all the nails are wrapped.
Cut out the thread holding the end. Tie a knot.
Cut out the excess. Fray check the end.
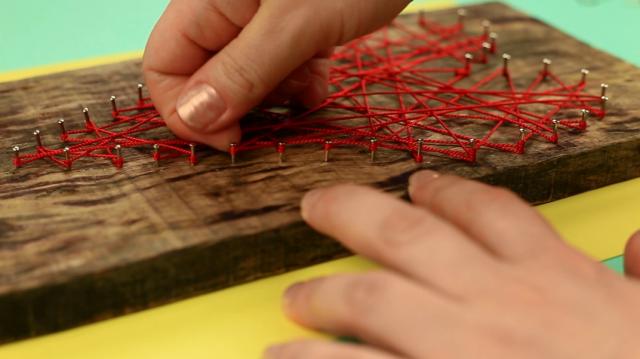
Now shift the thread closer to the nail heads to hang the earrings easily.

The awesome heart shaped wooden earring holder will keep safe your jewelries and scent a room with your favorite aroma.
Materials we used for this project:
- old wood board;
- aromatic oil;
- red synthetic thread;
- paper sheet;
- decorative ball head nails.
If you're like this project, check out our youtube channel: TroomTroom


