DIY Decoupage Lilac Flower Pot
This time we'll turn an ordinary flower pot into a gorgeous decoupage design element. This DIY lilac cache pot will perfectly embellish your terrace or kitchen!
Before the beginning ensure the pot surface is dry, clean and free of labels.
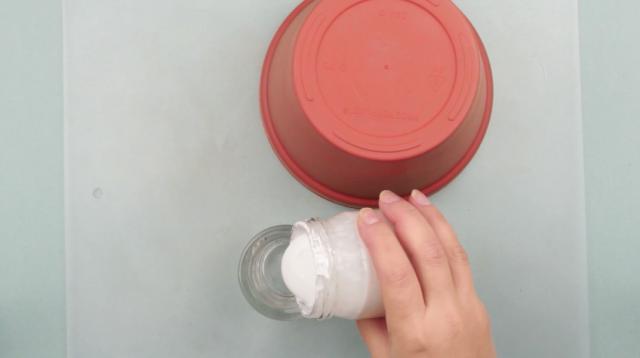
Prepare the ground coat: pour one portion of water, add the same quantity of white water-based paint and white glue. Mix with a brush.
Add blue gouache, then red.
We should get a soft lilac shade.

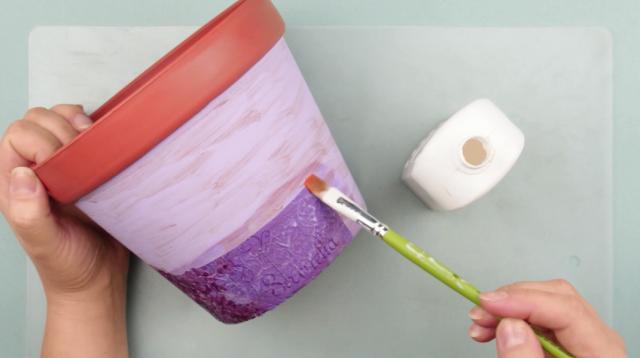
Apply the ground coat with a brush.
Leave the top edge and bottom unpainted.
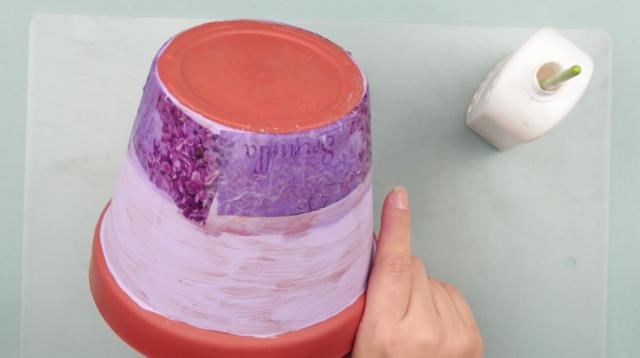
When dry, add another coat.
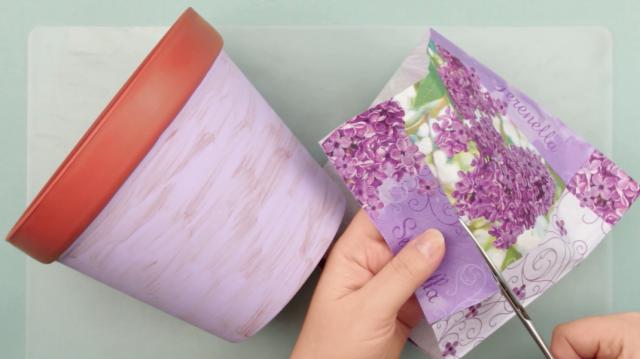
Take a decoupage napkin. Choose the lilac fragment you like and cut out with scissors.
Remove extra layers leaving the top one with the picture on.
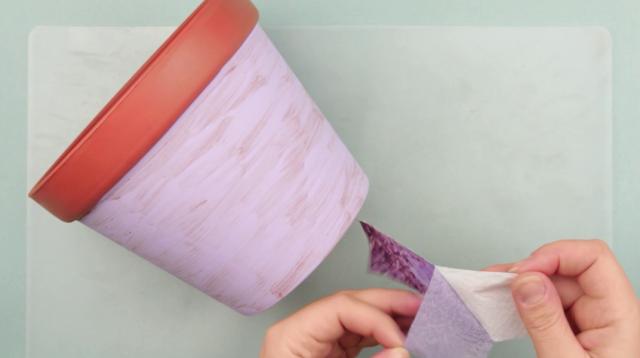
Choose where you want to place the image.
Cover the place with white glue. Use a brush.
Attach the napkin.
Cover the picture with the glue moving the brush from the center towards the edges. Be careful not to tear the thin paper while smoothing the wrinkles.
Adhere another fragment next.
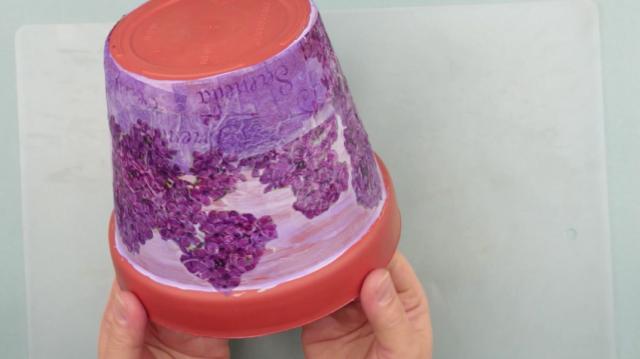
Place a couple of lilac pictures more.
If you are going to put the pot outside, cover it with a transparent lacquer. You don’t need it for an inside use.
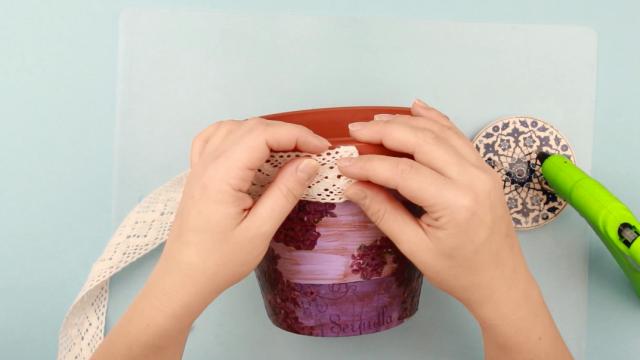
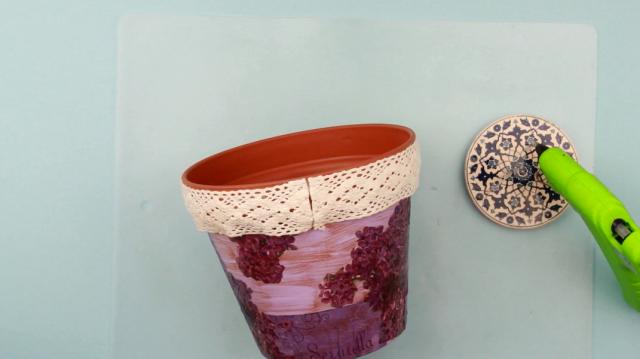
Let’s embellish the top of the pot.
Cover it with a milk shade cotton lace. Use a hot glue gun.
Fold the end inside to look neat.
Attach the lace adding the hot glue in equal intervals.
Fold the other end inside as well.
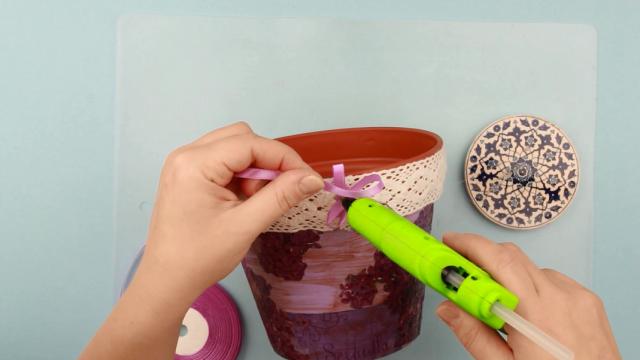
Let’s conceal the junction.
Attach a thin satin ribbon of a soft lilac shade.
Shape petals to form a lilac flower.
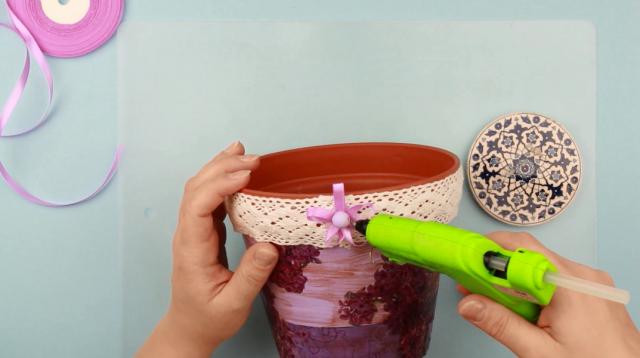
Hot glue a big lavender lilac bead in the center.

Attach small wooden beads around.
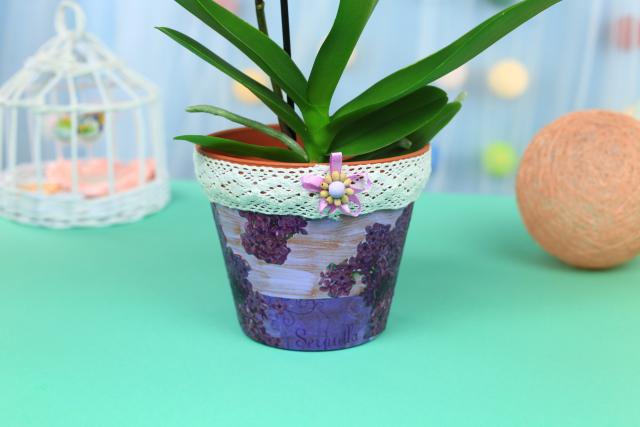
The cute lilac flower pot decorated in decoupage technique will perfectly embellish your terrace or kitchen.
If you're like this project, check out our youtube channel: TroomTroom