DIY Baby Shower Decor Ideas
How to make baby shower decor. In today's tutorial we'll craft amazing baby party decorations. These wonderful DIY ideas will help you to make the party unforgettable!
Check out the video above to learn how to make your own!
To make a garland for this special occasion we’ll need white paper, pink and grey baby scrapbook paper.
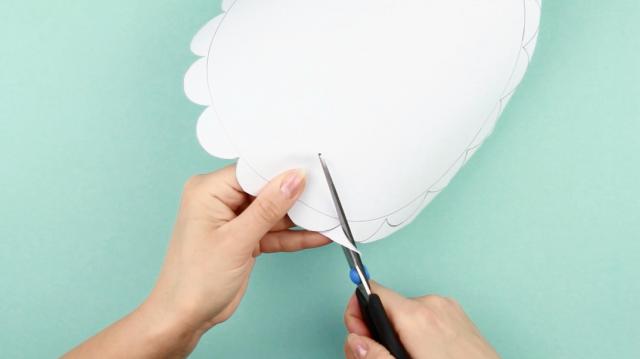
Draw a circle on white paper. You can use a round plate.
Add small semicircle details across the line. Cut it out.
Make three round details. And three square ones made in the same way.
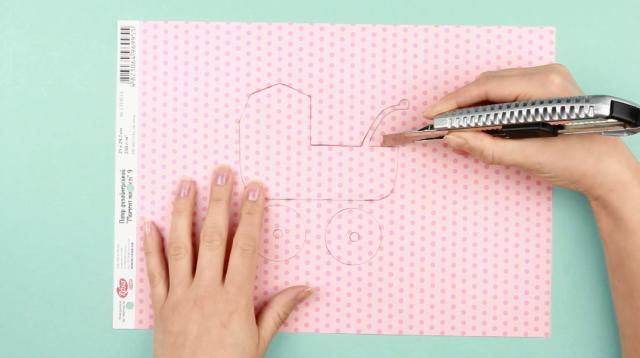
Outline a baby carriage on pink paper. You can either copy an image or download a picture.
Cut out the silhouette with a craft knife or scissors, as you like.
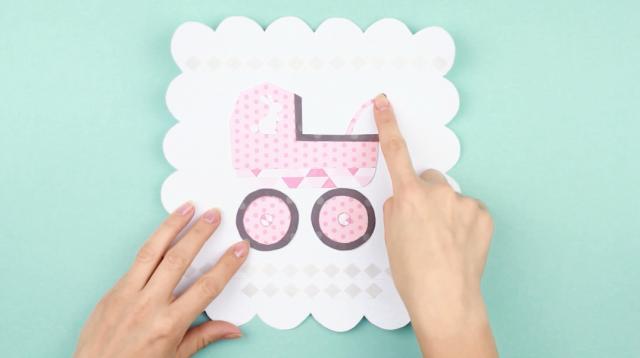
Place it in the center of a square detail.
Add a few elements with another print for the wheels.
Embellish the lower part of the carriage.
Cut out a small rabbit. Attach the elements with white glue.
Add patterned strips on top and bottom. Stick another shorter one here.
Cut out dark edging for the wheels. And for the carriage.
Attach with white glue.
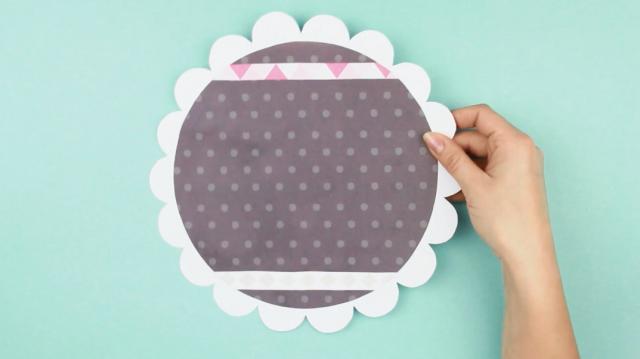
Choose dark grey background for a round detail. Adhere.
Cut out light grey and pink patterned strips for the top and bottom. Here it is!
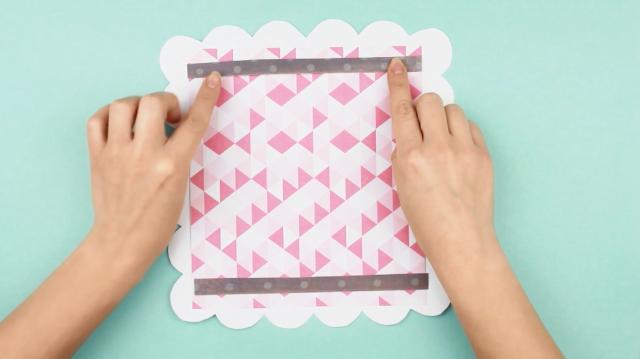
Now take a square detail and cut out pink patterned background. Thus we alternate the garland details of square and round shapes with grey and light colors. Adhere.
Embellish the element with dark grey strips.
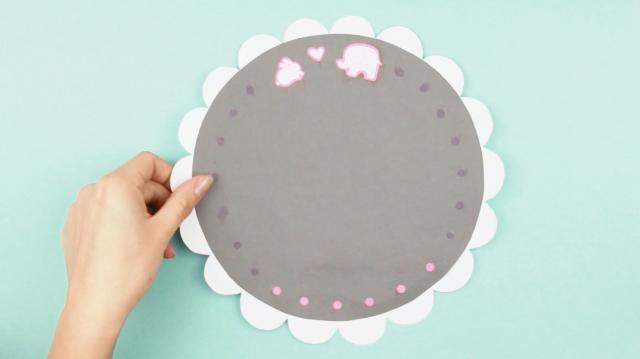
Choose a plain grey background for the next detail.
Decorate it with these lovely cutouts. Stick them on top.
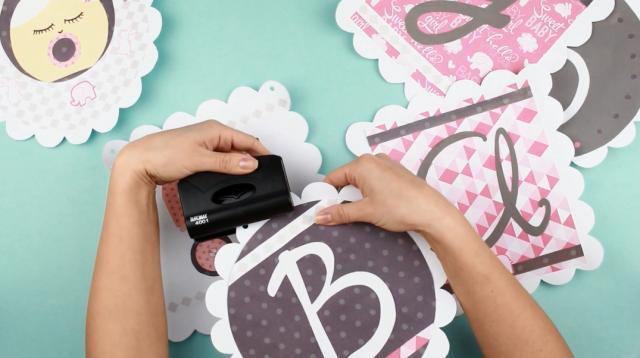
Add tiny circles of grey and pink colors on the lower part. Use a hole punch to make the embellishments.
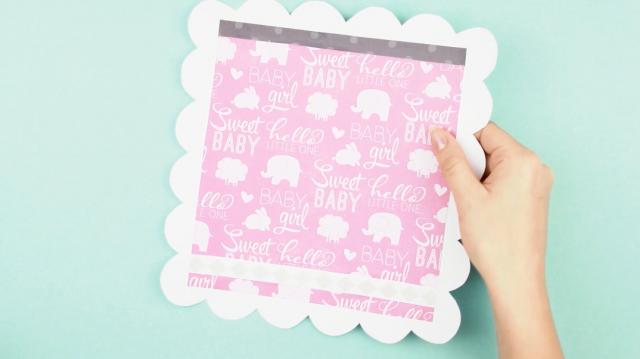
Combine a pink background with a square detail again.
Add grey strips of different shades.
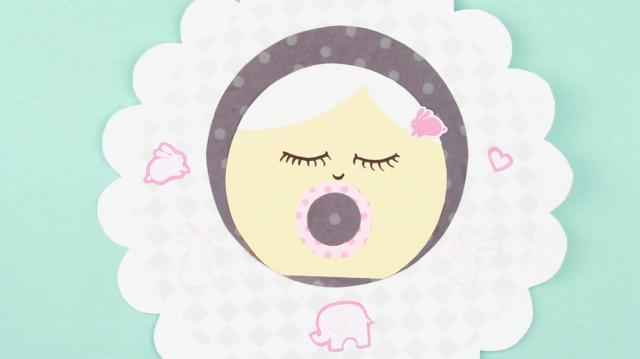
Make a baby face on the finishing round element. Cut out paper animal prints.
Make one small circle and another bigger one for a pacifier.
Prepare a yellow circle for the face. And a dark grey cap to contrast a light background.
Cut out a double leaf shaped detail from white paper.
You’ve got a hair outline. Attach the composition.
Draw eyes with a pencil first. Then define with a black marker.
Add a small nose. Done!
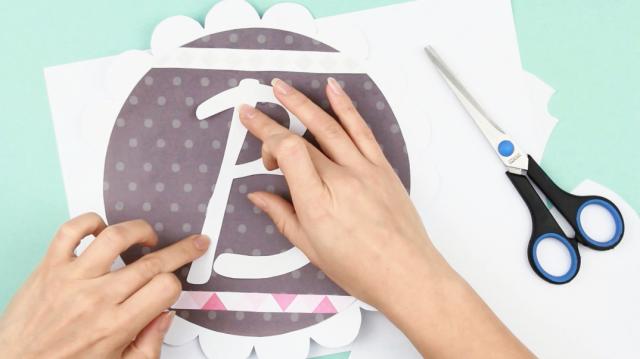
Measure out an interval between strips on the white paper. Use a ruler.
Draw the letter “B”. You can choose a font you like and print out the word “BABY”. Cut out.
Erase the pencil. Attach the letter.

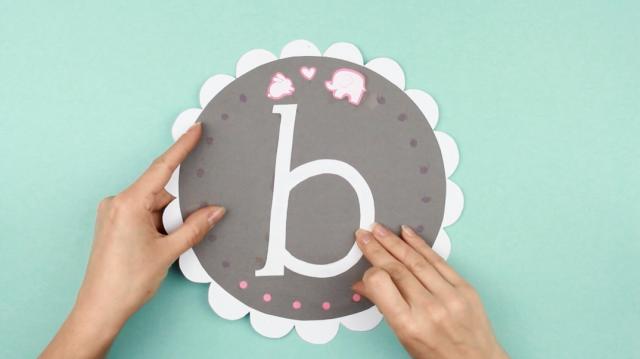
Outline “A” on the grey paper. Cut it out.
It matches the pink background perfectly. Adhere.
Add a funny elephant lower.
Draw the other “B” on the white paper again. Cut out. Attach.
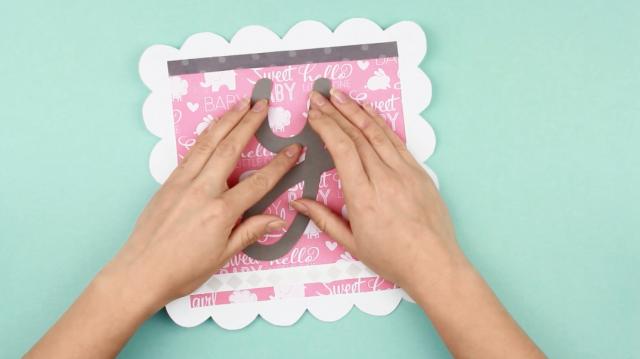
Sketch the last letter on the grey paper. Cut out and stick.
Punch the upper corners. Join the garland with white rope.
First thread the baby carriage. Then the letters.
Finish the garland with the sleeping baby.
Take short pink ribbon pieces. Tie them up to the rope between the letters.
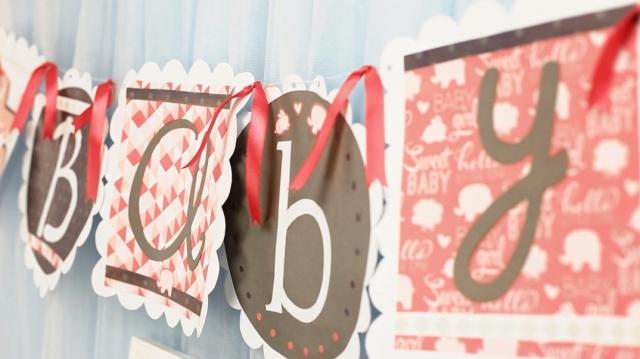
The fabulous garland will become the central element of the baby shower party decoration.
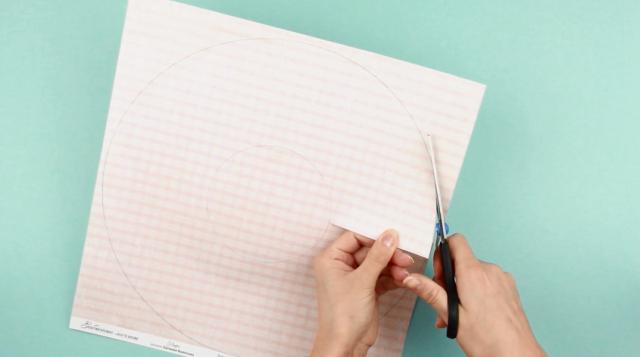
Draw the biggest possible circle with a pair of compasses.
Outline a smaller circle inside. Cut out half of the outer circle.
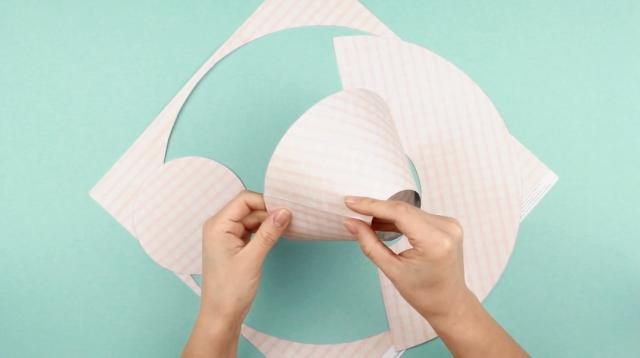
Join the ends to form a frustum of a cone. It will be a cake basket. Stick the ends.
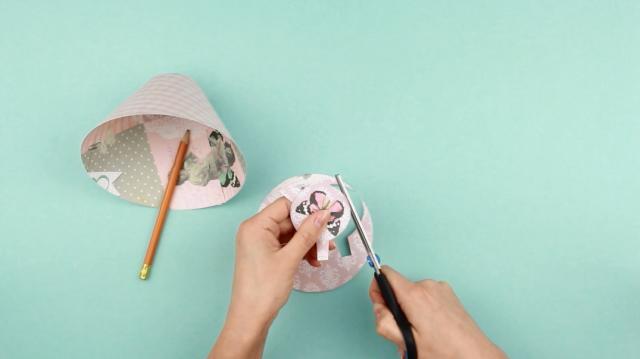
To make the bottom of the basket trace the circle. Cut out.
Make flaps to attach the bottom to the cone. Two ones will be enough. Fold the flaps.
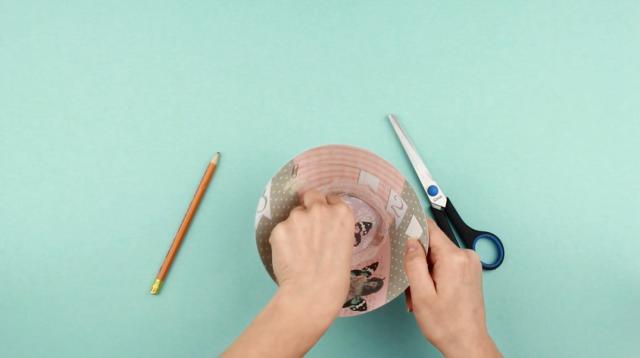
Add hot glue. Attach inside.
Let’s fill the basket. Roll up the towel imitating a cream topping.
Put into the paper basket to finish the cake.
Make a couple of more similar cakes of different size and color.
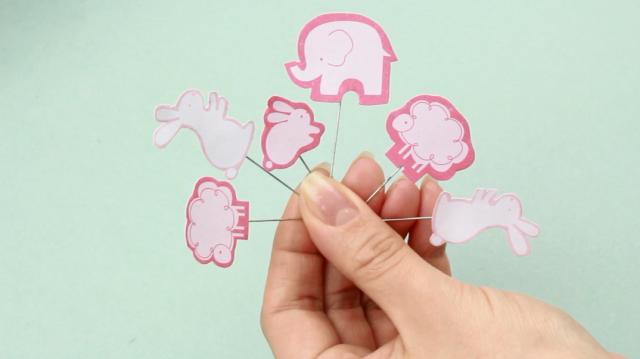
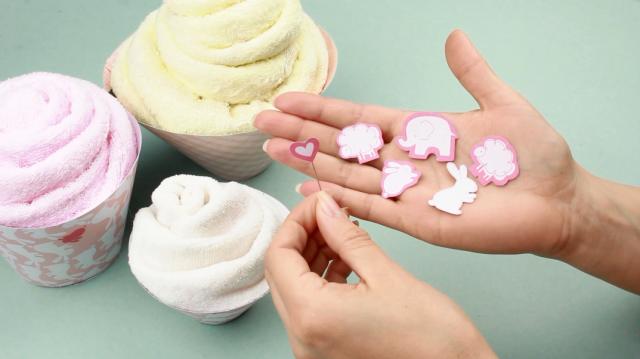
Cut out additional elements.
To make such an embellishment we need a pin.
Use either hot or multipurpose glue. Here it is!

Decorate the cakes.
Now let’s make a fluffy kitten.
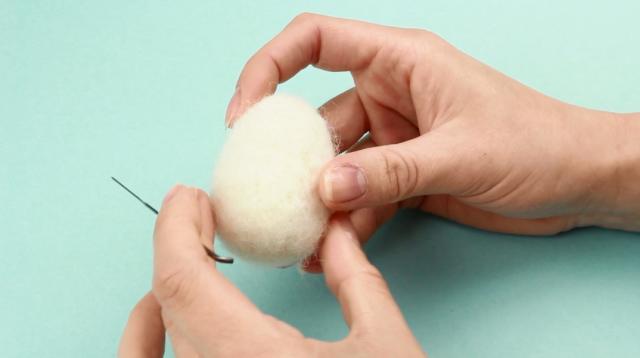
Take a small wool tuft. Start needle felting. Use thicker needle, size 36.
Gradually add wool to form an oval body.
It resembles an egg shape.
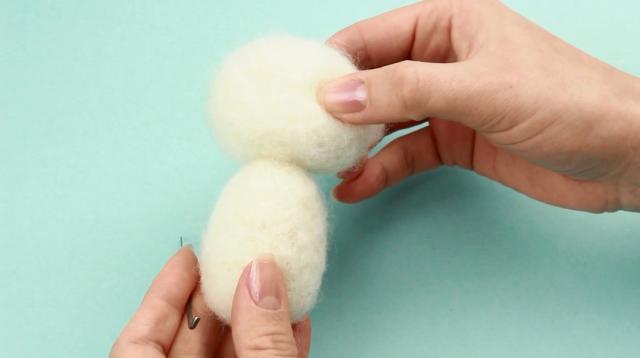
Make another same detail for a head. Join them this way. Add a bit of wool to the juncture.
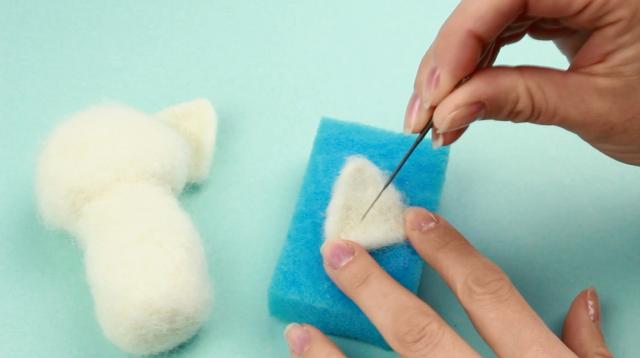
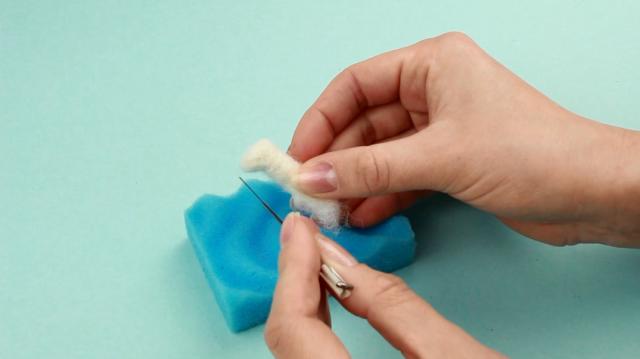
Take a sponge to needle felt small details. Change the needle to a thinner one, size 38.
Make an ear. Fold a wool tuft to form a triangle.
Pierce in the center to create a 3D effect. Thus it looks like a real cat ear.
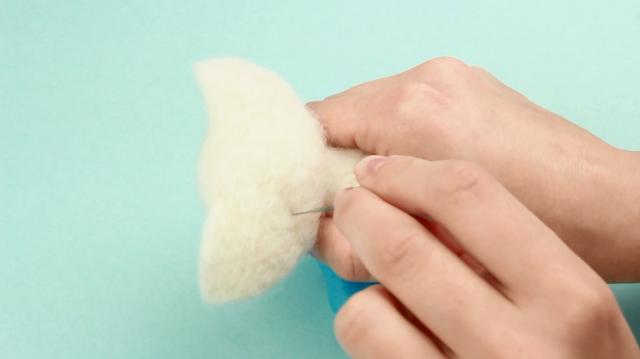
Tack the ears to the head .
Cover the juncture with wool to make it smooth. Done!
Add a bit of wool on the front side to make the head and ears a whole part.
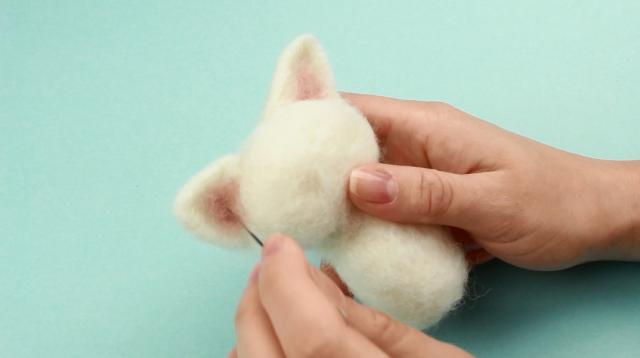
Put a bit of pink wool inside an ear. Needle felt it.
Repeat for the other ear.

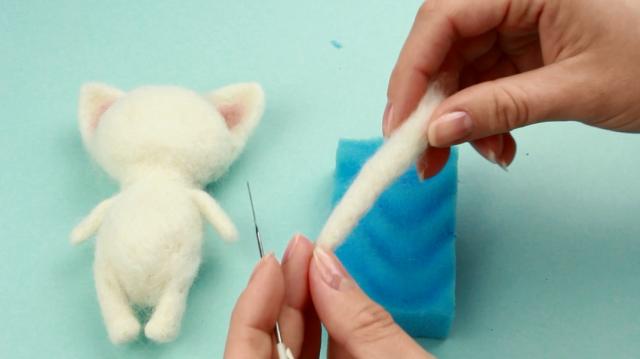
Roll up a tuft of wool and pierce to shape a paw.
Tack it in the same way as the ears. Repeat for the other side.
Take more wool for a leg and needle felt it. Form a foot. Pierce it until firm.
Join the legs to the body.
Make a tail. Tack it to the back.
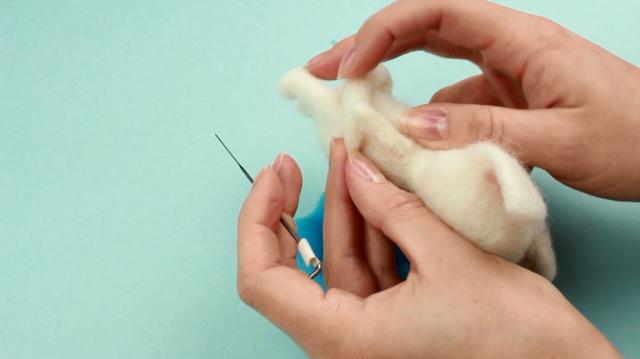
Let the kitten hold its tail in a paw. Make a smooth junction between the legs and tail.
Needle felt pink wool to the tip of the tail.
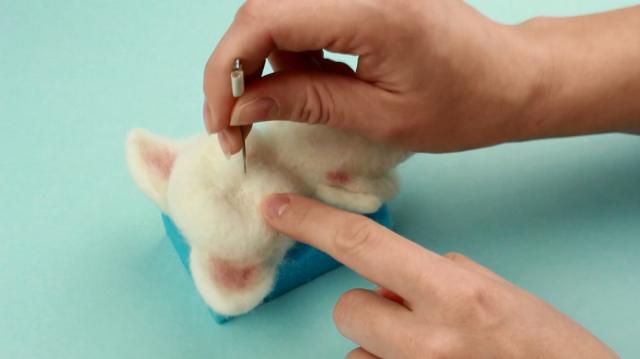
Deepen the eyes area.
Pierce the mouth in the same way. Add the wool to form cheeks. And a nose.
Shape a bridge. Make the tip of the nose pink.
Tack the crimson wool inside the mouth.
Use the light pink rove to shade the cheeks.
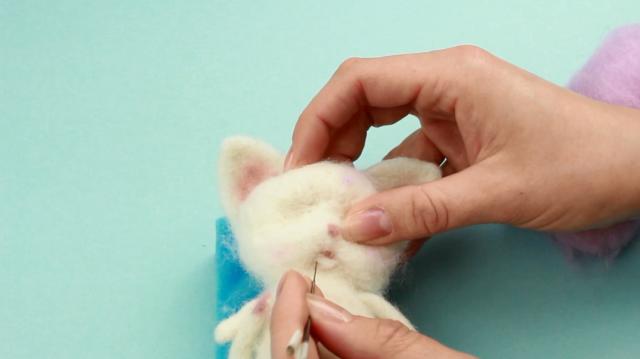
And eyebrows. Roll up a tuft of light wool.
Shape a chin. Define the shape.
Pierce the cheeks until firm. Shape them round. Emphasize the eyes area.
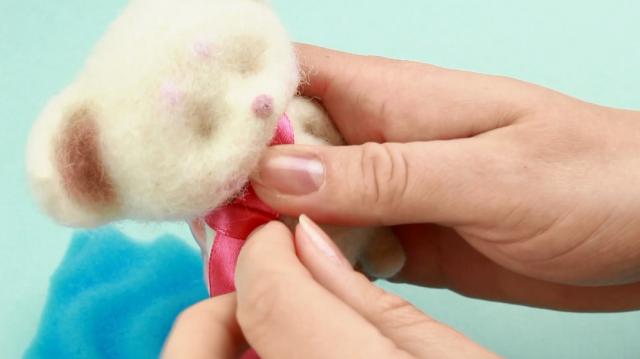
Tie a pink ribbon to the neck to harmonize with the rest of the decoration elements.
Define the eyes with black bead halves. Attach them using multipurpose glue.
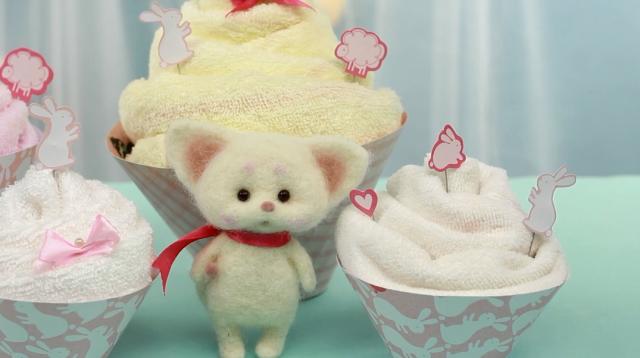
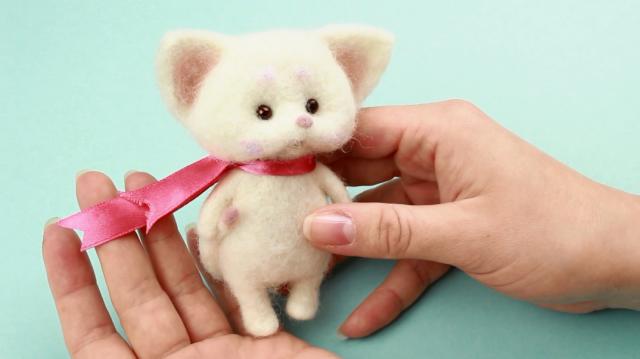
The lovely kitten is ready.
The splendid towel cakes will both decorate the baby shower and be used by the mother-to-be later on, while the funny kitten will become a favorite baby’s toy.
To finish the decoration we’ll make a so called guest book to leave wishes for the expectant mother and her baby.
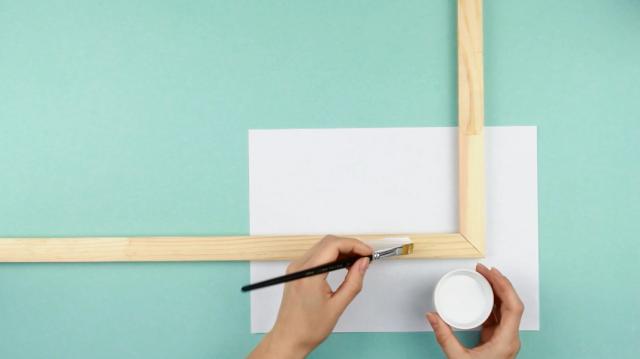
Underlay a paper sheet to protect the surface. Paint the frame.
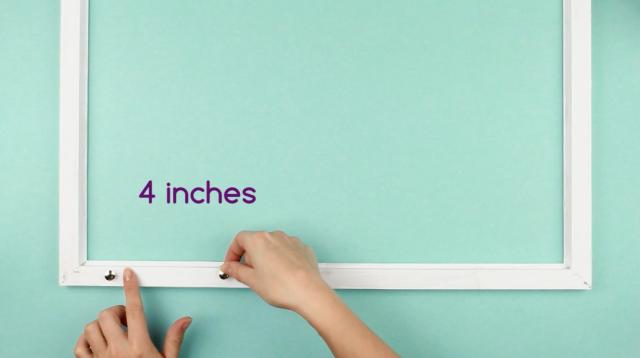
When the paint is dry, pin up thumbtacks to the backside of the frame.
Make a interval between them.
Press over the thumbtacks leaving about a half above the surface.
Pin up 5 pieces per side. Shift a bit to fix the thumbtacks on the opposite side.
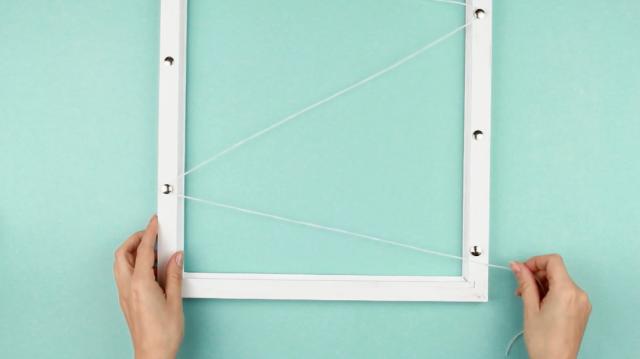
Take white and pink threads. Wind the white thread around the thumbtacks.
Pull up the thread to the opposite side and then back to form a zig zag.
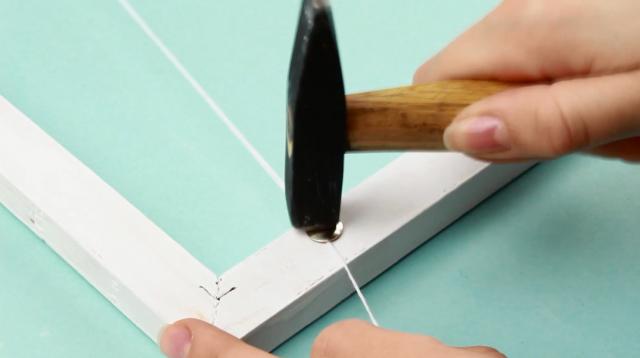
Fix the thread by hamming the thumbtacks. Cut out the excess.
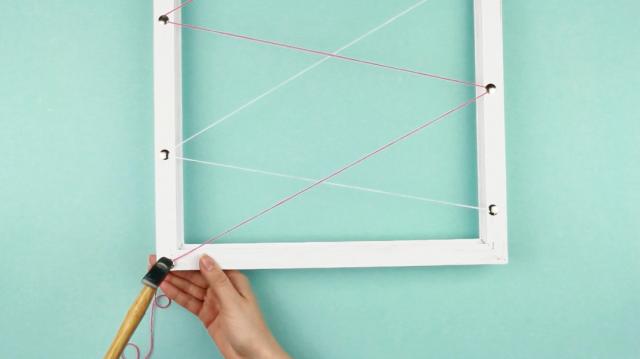
Fasten the pink thread to the free thumbtacks. Thus it will criss-cross the white thread by a new zig zag.
Hammer the thumbtacks. Cut out the excess thread. Here it is!
This is how the front side should look like.
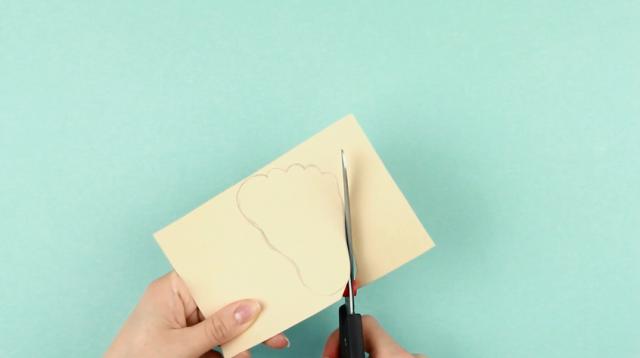
Draw a baby sole on the light paper. Cut it out. Erase the pencil.
Make 6-7 silhouettes of the right and left soles. Use different paper.
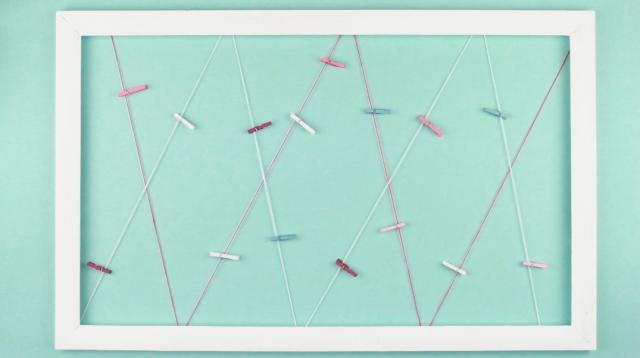
Take small decorative clothespins. Spread them over the ropes.
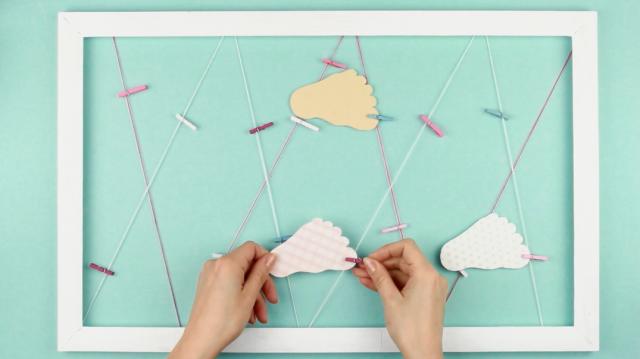
Fasten the soles.
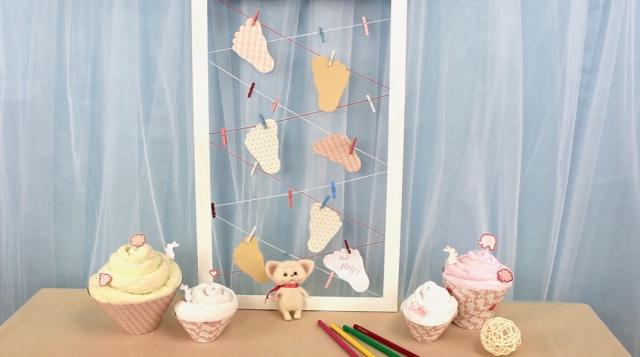
Now any guest can leave a wish for the mother-to –be and a baby on the original sole-cards. You will be able to put them off the rope after the party and keep in a pregnancy scrapbook for long.
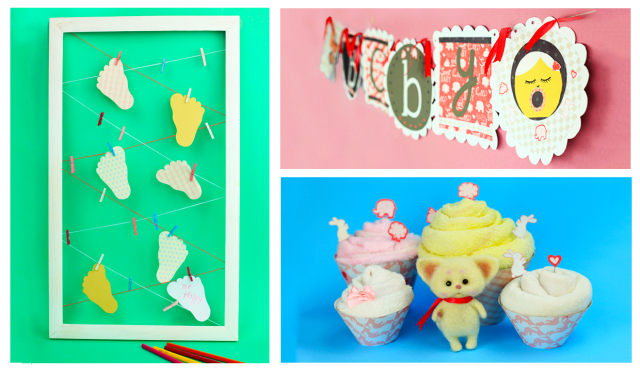
We have prepared wonderful decorations for the baby shower to make the party unforgettable.
Materials we used for this project:- white and color paper;
- scrapbook paper;
- pair of compasses;
- craft knife, scissors;
- white glue;
- hot glue gun;
- embellishments;
- tags;
- pen, ruler, eraser;
- marker;
- ribbons, cord;
- unwoven wool of white and pink colors;
- baby towels;
- felt needles, size 36, 38;
- pin;
- sponge;
- white acrylic paint;
- brush;
- wooden frame;
- thumbtacks;
- white and pink thread;
- small decorative clothespins.
If you're like this project, check out our youtube channel: TroomTroom