DIY 3D Paper Mache Grape Bunch Wall Decor
How to make DIY 3D paper mache wall decor. This tutorial is about how to craft a beautiful paper mache grape brunch using our paper ideas. We're sure that this handmade wall decor will add glamour to your interior and become a nice gift!
Check out the video above to learn how to make your own!
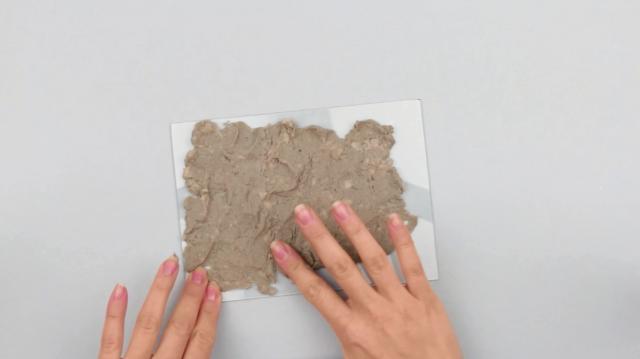
Knead the pulp and apply a thin layer to the glass.
Shape the corners and smooth the surface.
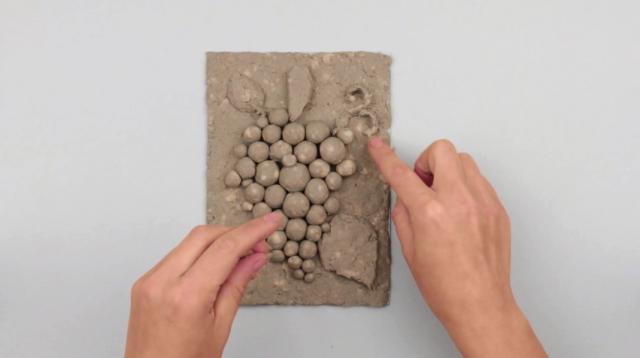
Make small paper mache balls.
Choose a portrait size for the composition.
Start placing the balls to shape a grape bunch.
Press tightly since the paper mache decreases in size as soon as it gets dry.
Think out the composition outline to fill it in with these grapes.
Leave space for the grape leaves in the diagonal corners.
Add a big leaf at the bottom and a small one in the top part.
Smooth and shape. Make a pedicel. Form petioles and tendrils.
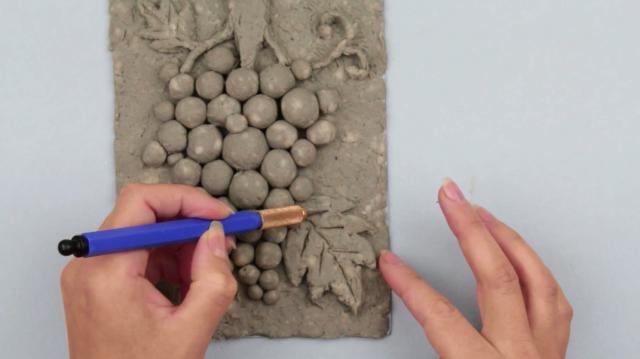
Define the leaves using a craft knife. And other details.
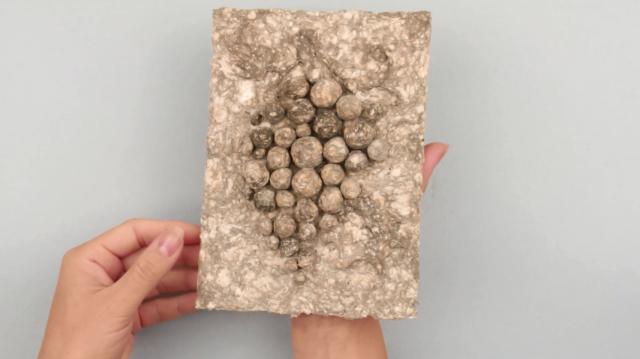
Done! The paper mache will dry in 2 days.
You will easily remove it from the glass when it dries.
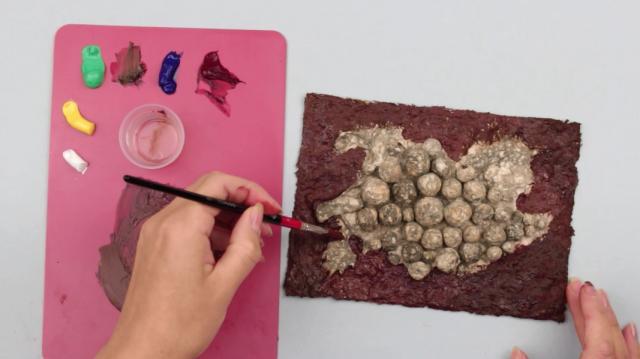
Begin painting.
Take solvent and make proper colors: mix cerise and dark olive to get dark brown for background. Cover the paint.
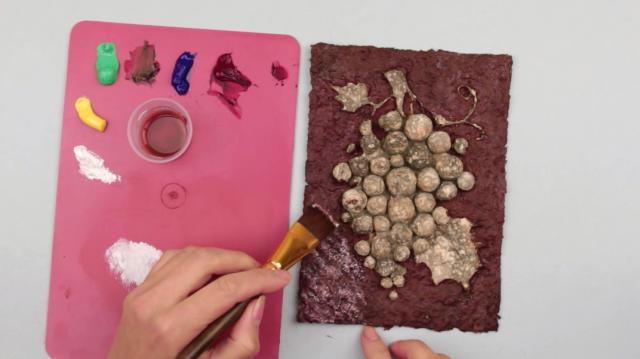
Now take white. Add it by touching the surface in this way.
We’ve got a beautiful effect.
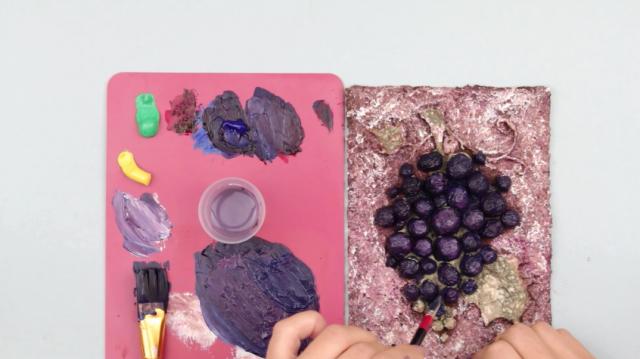
Now mix blue and cerise to get purple.
Paint the grapes.
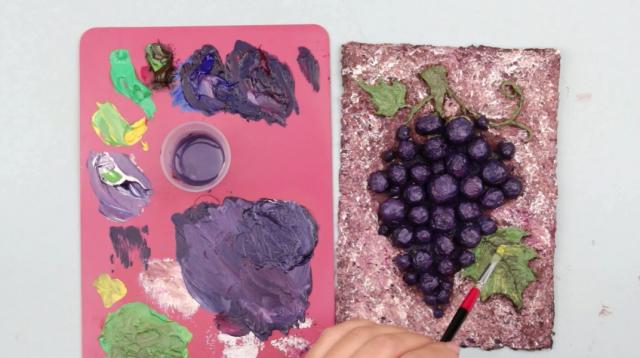
Color the leaves. Mix light green, yellow and dark olive to get a natural green shade.
Paint the inner part with dark olive. Add some yellow. Done!
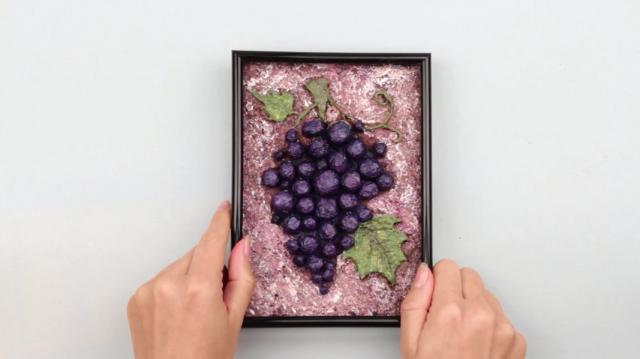
Put the composition into the frame.
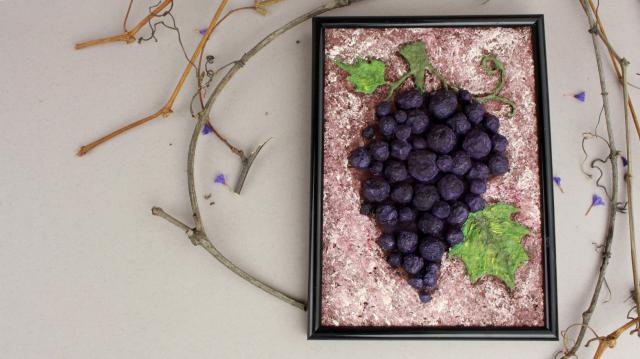
This 3D paper mache grape bunch wall décor will add glamour to your interior or become a lovely handmade gift.
Materials we used for this project:
- a glass or plastic cover removed from an ordinary photo frame;
- oil paint and solvent, you may also use acrylic paint or gouache;
- soft synthetic brushes;
- paper mache pulp, you can find a video about how to make it on our channel.
If you're like this project, check out our youtube channel: TroomTroom
