DIY Train Photo Frame For Kids
In this tutorial we'll make a bright photo frame from ordinary household cloths! This funny photo train will perfectly embellish a children room with beloved faces!
We’ll need:
- a set of colored household cloths;
- cardstock;
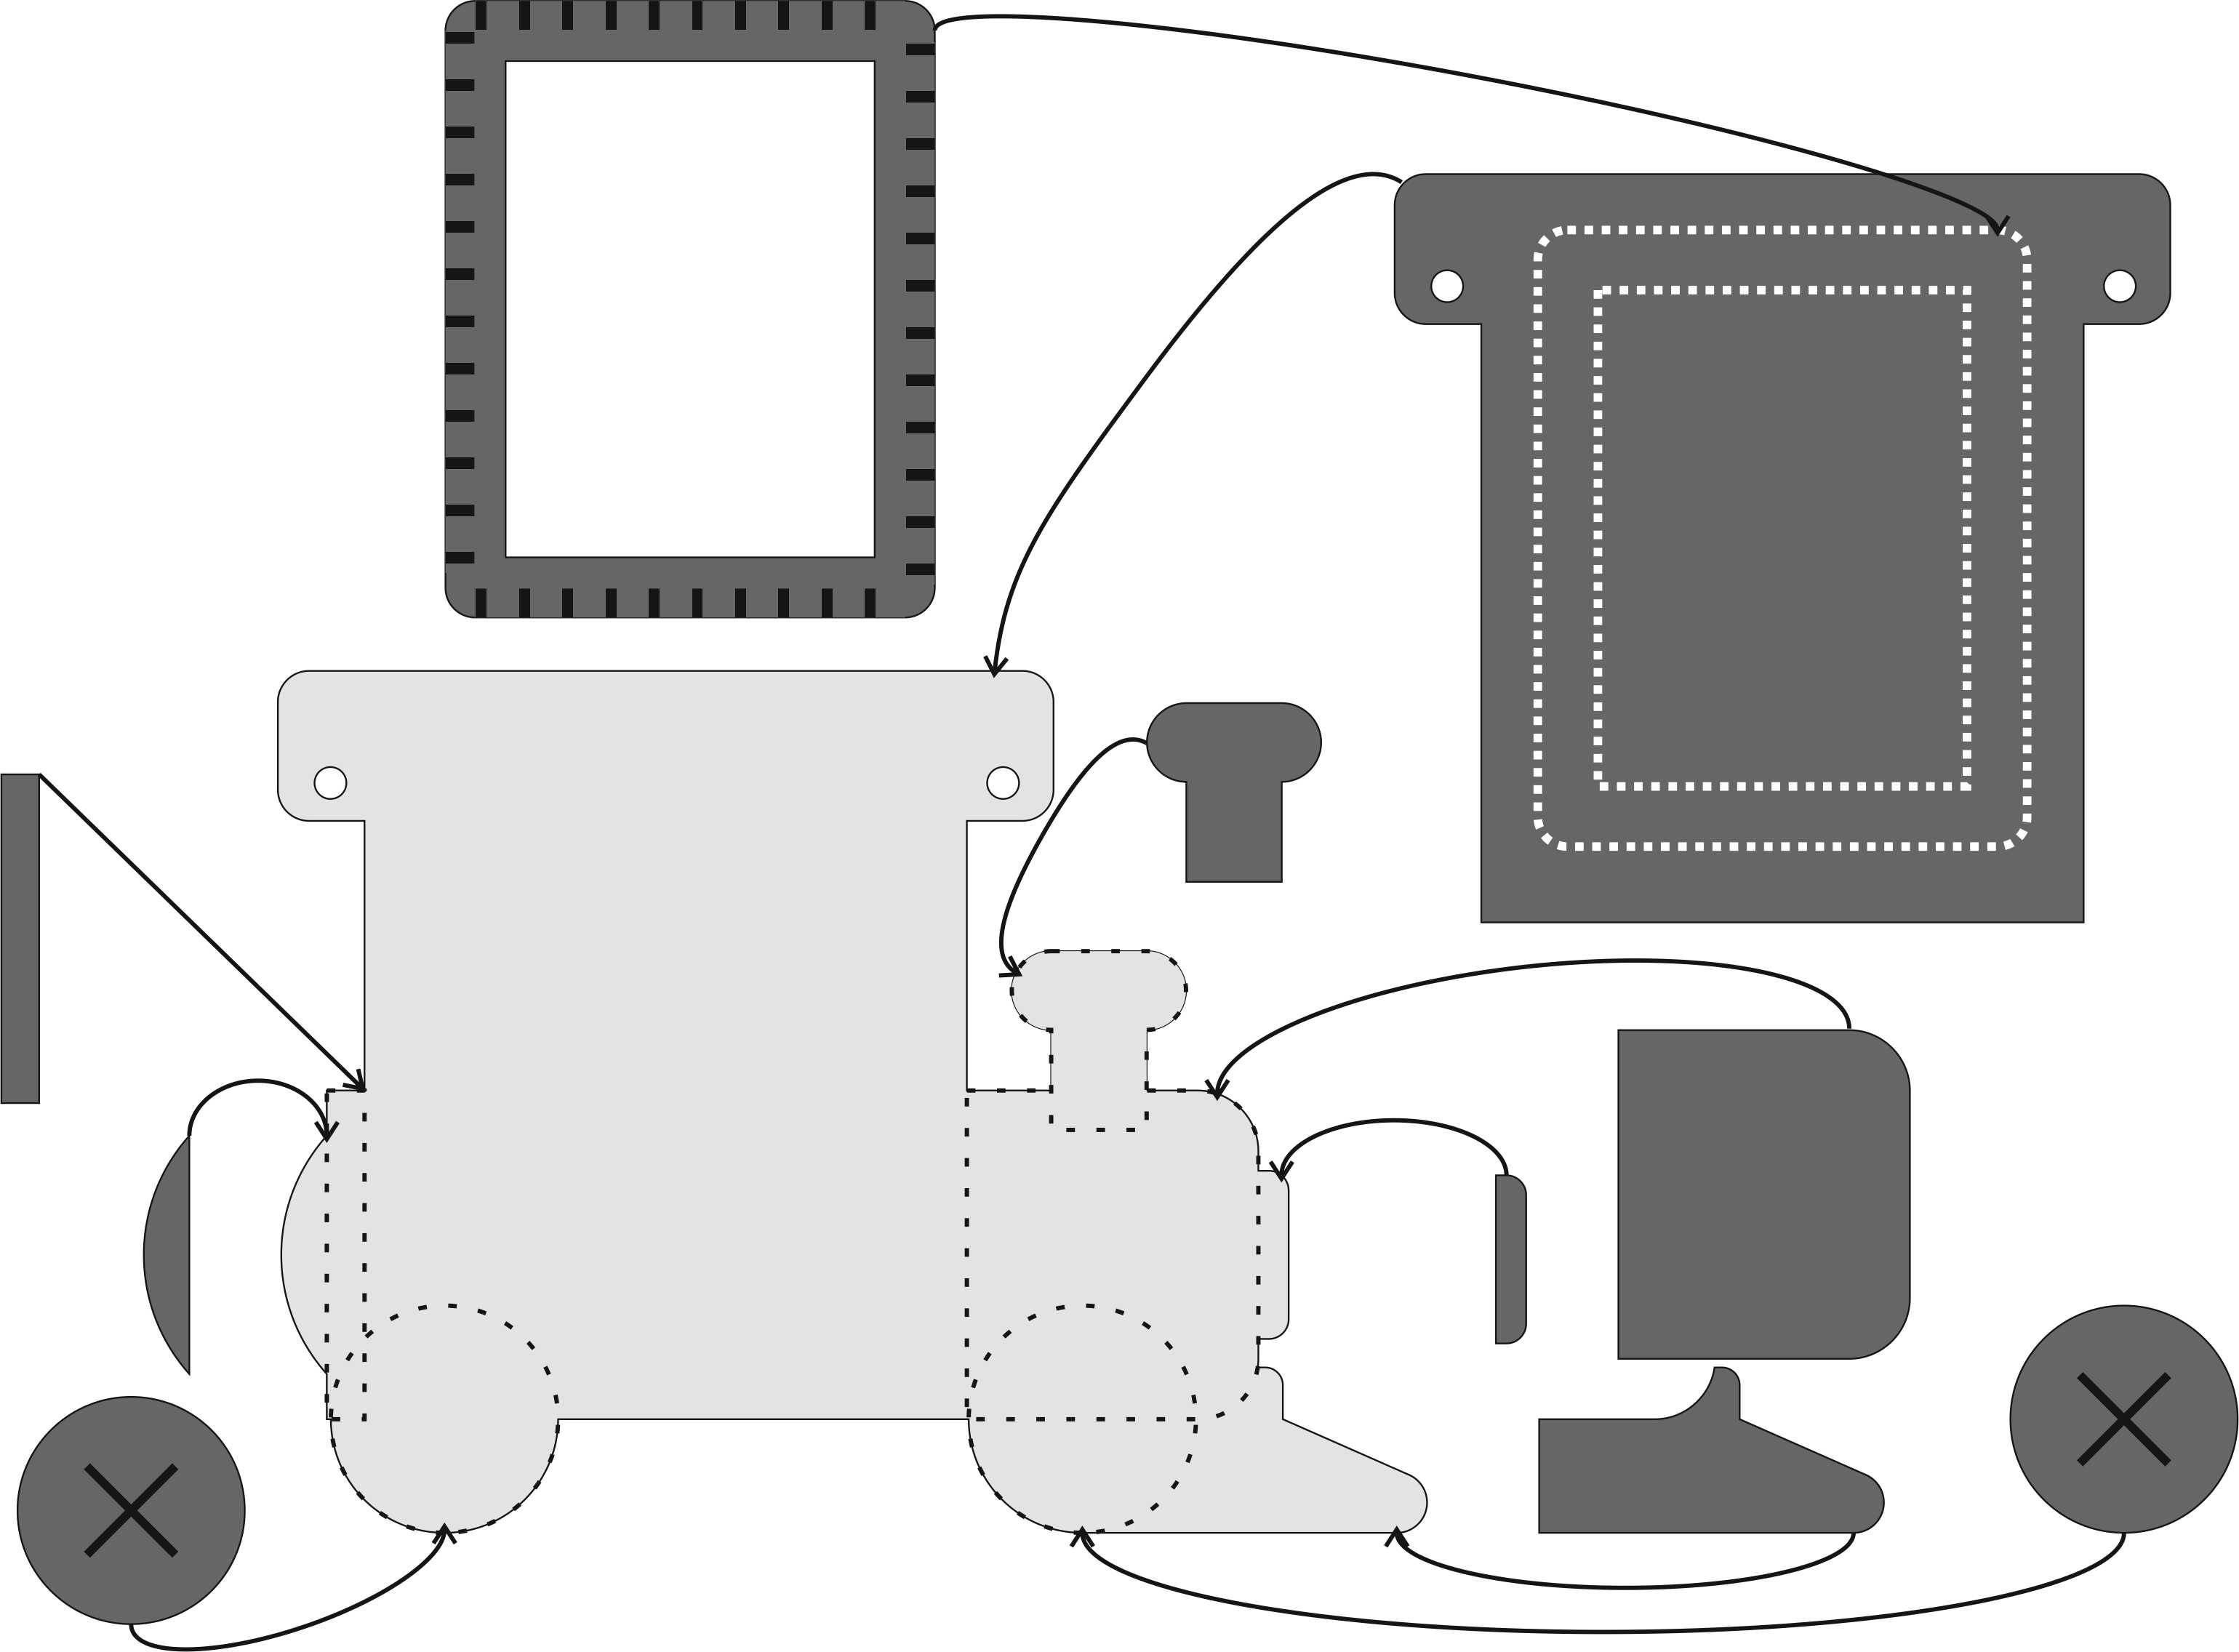
- patterns from attachment;
- sewing needle and black threads;
- hole puncher;
- family photos;
- black cord.
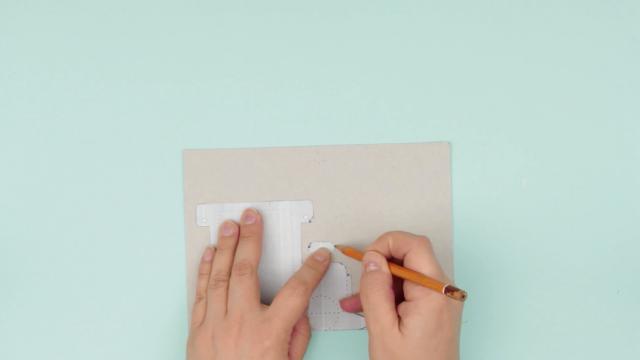
Place light grey patterns on cardboard and trace with a pencil. You can find the patterns and assembly scheme in the attachment to this tutorial.
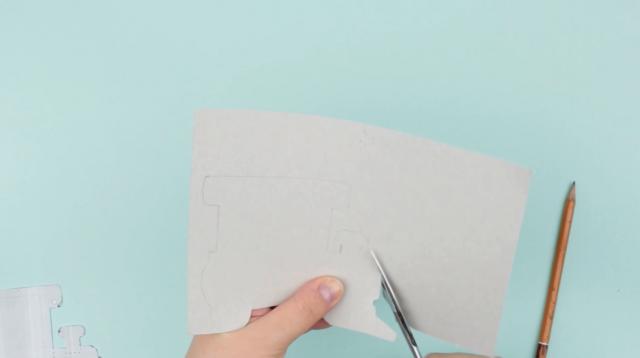
Cut out.
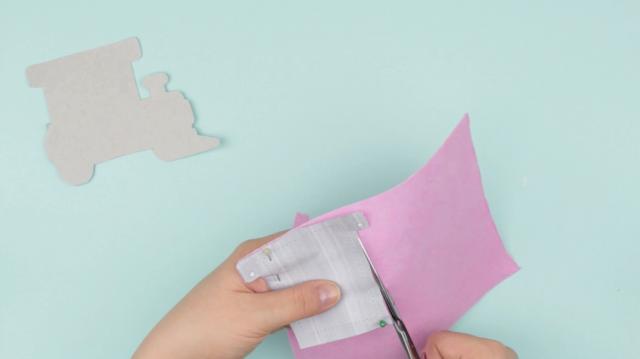
Now we’ll trace dark grey patterns on cloths.
Pin them down to keep in place. Cut out.
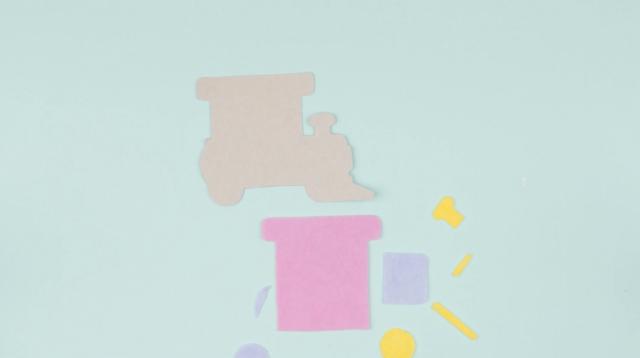
Make other details in the same way.
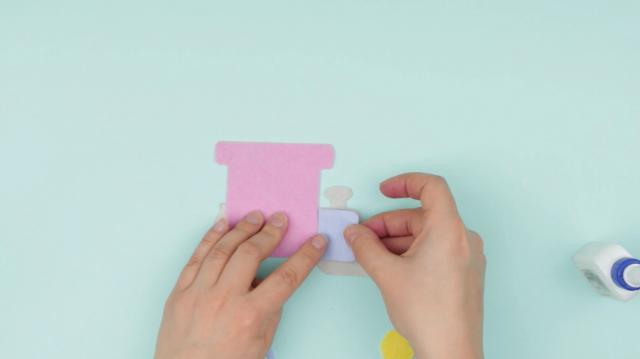
Glue to the cardboard base.
When all the details are attached make a photo pocket-frame.
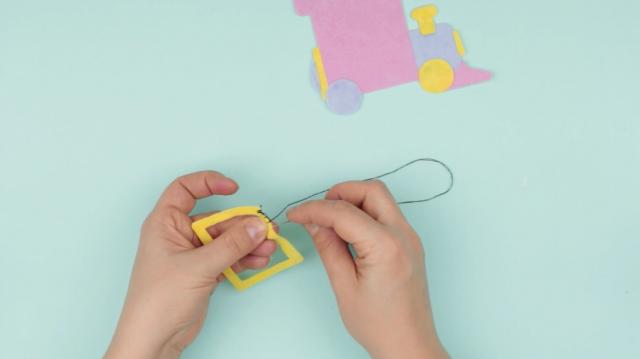
To avoid deforming seam the perimeter. You can do it with a sewing machine but it will look more decorative by hand.
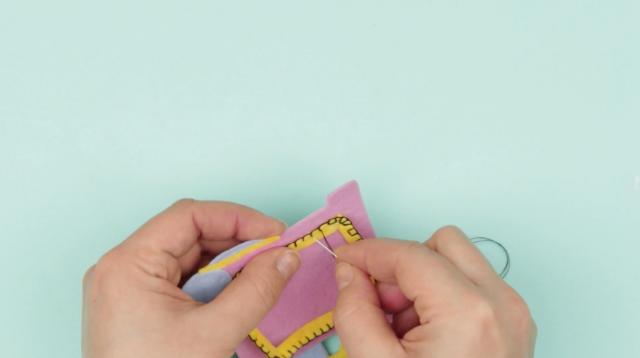
Sew down the frame to the train engine leaving the loose top to put in a photo.

The train engine is nearly ready.
Repeat for train cars.
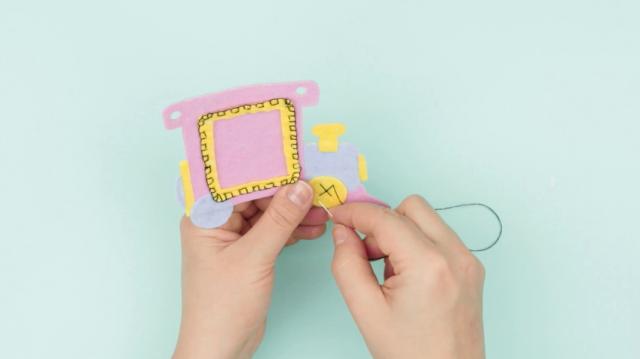
Cross stitch the wheels.
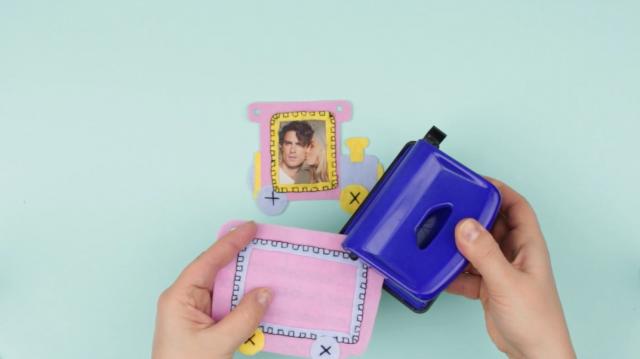
Make holes for a cord.

Put the photos in the frame pockets.

Tie a loop on the other cord end to hang the train on the wall.
Join the train with the cord by passing it through the holes.
Cut out the excess and make a loop on the other end.
Distribute the train cars evenly.
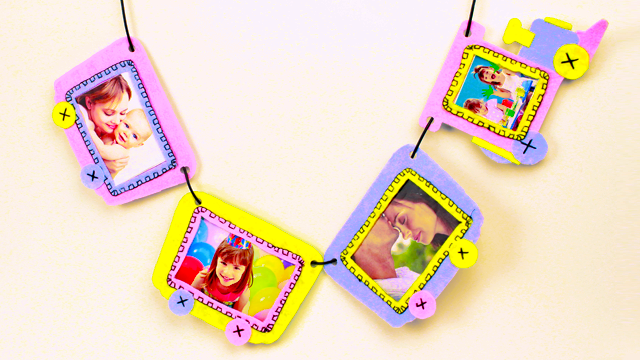
The funny photo train will embellish a kids room with beloved faces.
Patterns download links: http://troomtroom.com/sources/diy_train_photo_frame_for_kids_-_pattern1.jpg http://troomtroom.com/sources/diy_train_photo_frame_for_kids_-_pattern2.jpgIf you're like this project, check out our YouTube channel: TroomTroom


