DIY Origami Box
How to make DIY origami box. In this tutorial we'll show how to fold a cardboard box quickly and easily. This origami cardbox will become a nice invitation box for a party or you can put a little things in it!
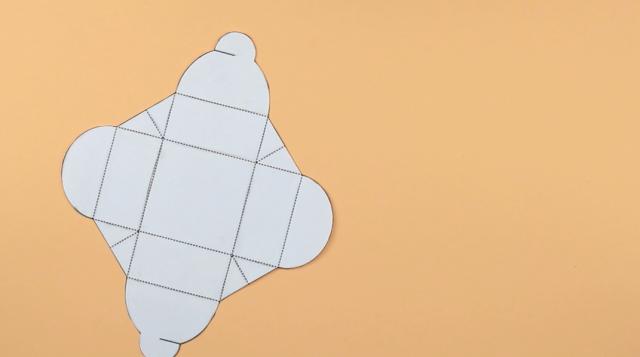
We have printed out a pattern from the internet, the link is below. Let’s cut it out. This pattern is very convenient especially if you are going to make several boxes. You don’t need to measure out each time, just trace and fold.
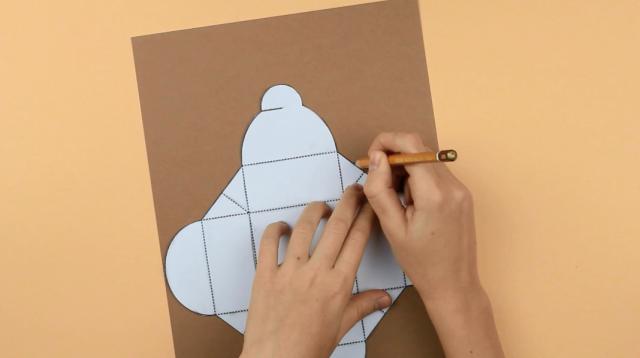
Place the cutout on the cardboard.
Trace with a pencil.
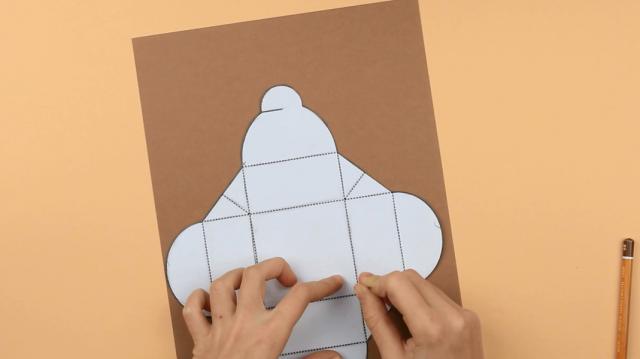
Follow the inner lines by pricking the cross points with a needle.
Remove the pattern.
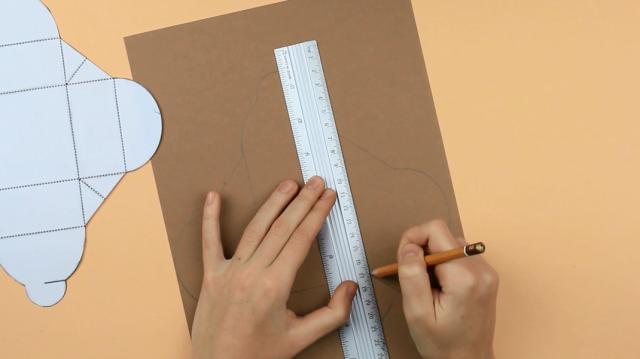
Join the pricks to trace the draft. Use the ruler and pencil.
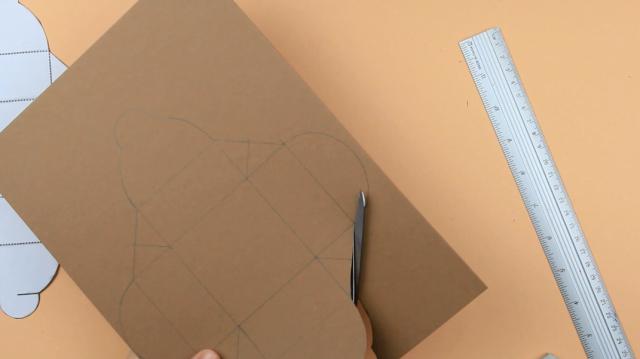
Cut out.

Make cuts for the clasp.
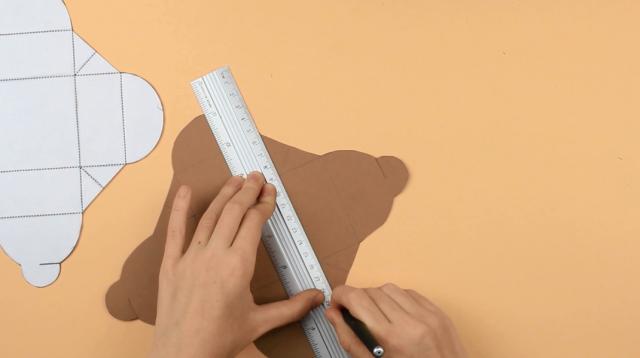
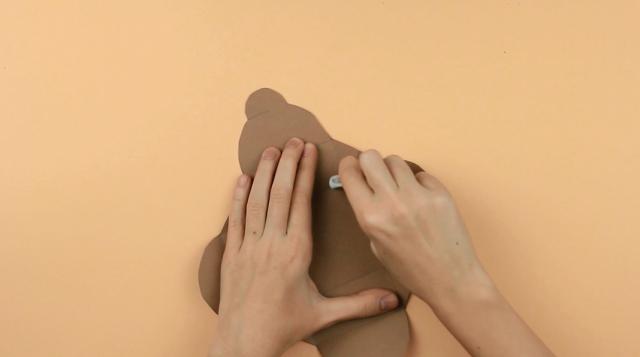
Take an empty ballpoint pen and score the lines using the ruler.
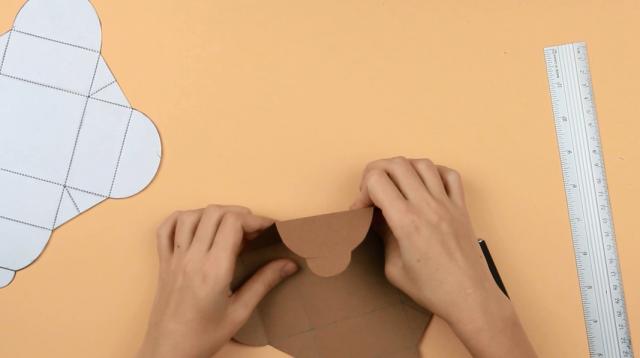
Fold across the score lines.
Erase the pencil.

Complete folding the construction.
Let’s decorate the box. Take a bead and twine.
Thread the bead. Pass the second twine end through the bead from the other side.

Put the loop onto the box clasp and pull up fixing with the bead.
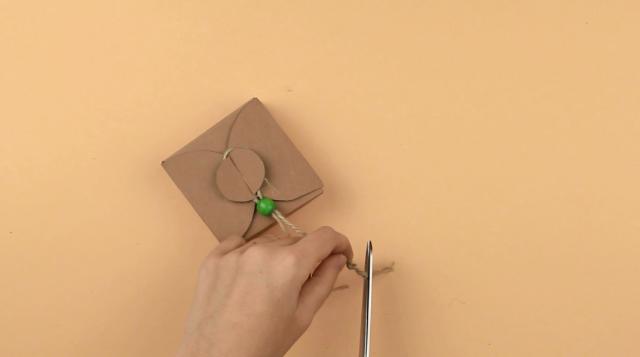
Tie several knots. Cut out the excess.

Done! This is the way how to make a nice useful box quickly and easily to put little things in. Use the pattern to make a number of invitation boxes for a party.
Box pattern download link: http://troomtroom.com/sources/diy_origami_box_-_pattern.jpg If you're like this project, check out our youtube channel: TroomTroom