DIY Nursery Wall Decor Ideas
How to make colorful nursary wall decorations. In our new DIY decor ideas tutorial we'll craft the fabulous decorative wooden squares that you can hang onto the wall or place them onto the shelf to add a splash of bright colors to the interior design!
Check out the video above to learn how to make your own!
We have sanded all sides of the wooden samples. Now they are even and smooth. Let’s paint them.
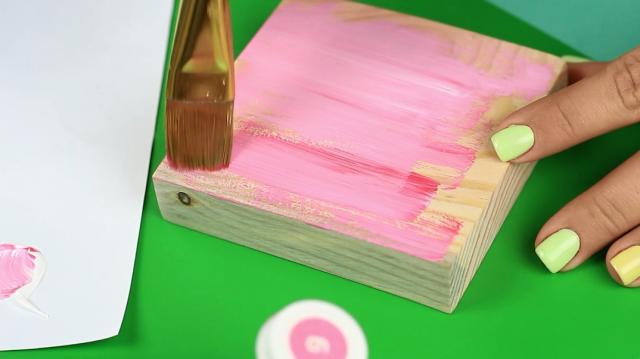
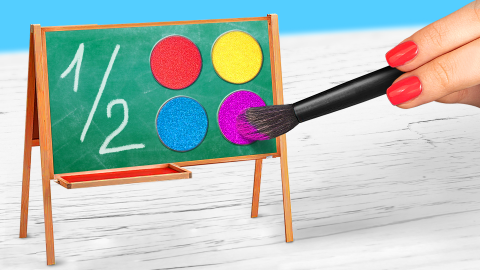
Squeeze a bit of white acrylic paint onto paper that we’ll use as a palette. Add some crimson.
Use a dry brush to paint in horizontal direction. If you don’t mix well, you’ll get such intricate striped pattern.
You may dip the brush into water just a bit. Add more paint. And continue.
Cover the sides. It’s very convenient to use a wide soft brush as it covers big areas and creates wide strokes.
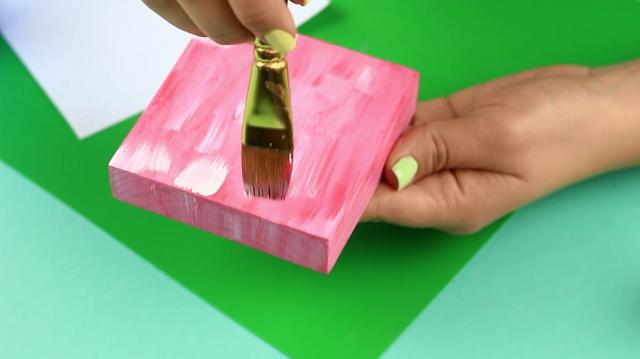
Let’s add some accents. Use white paint and dry brush.
Add finishing touches and let dry for about 20-30 minutes.
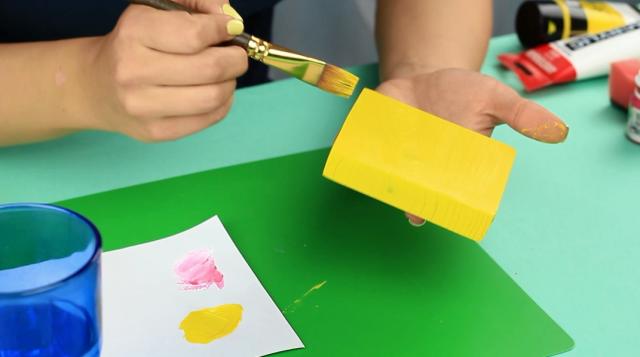
For the next sample take white paint and yellow.
Rinse the brush. Mix the paints well. Cover the craft.
If you can still see the wooden pattern after the first coat, apply the second one. All over.
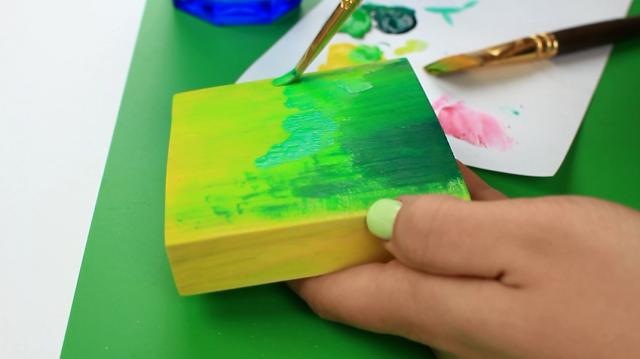
To decorate the third wooden square take lime green paint…
And dark turquoise. You may not rinse the brush.
Paint the dark cool colors first.
Then add the light ones to the opposite side. Start with warm yellow.
Now join them gradually.
Add lime green to get this bright color.
Let the crafts dry. Take the pictures.
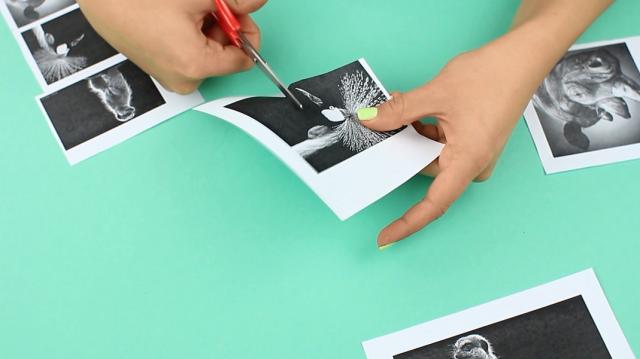
Cut out the animal outlines.
OK, the wooden squares are dry. Let’s embellish them.
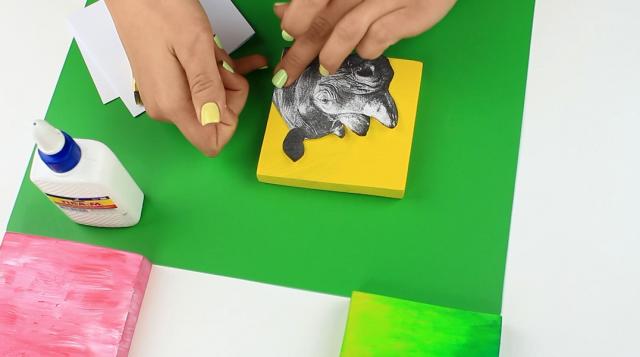
Squeeze some white glue to the paper.
Cover the back side of a cutout.
Attach the image to the sample smoothing from the center to the edges.
Try to avoid wrinkling the paper.
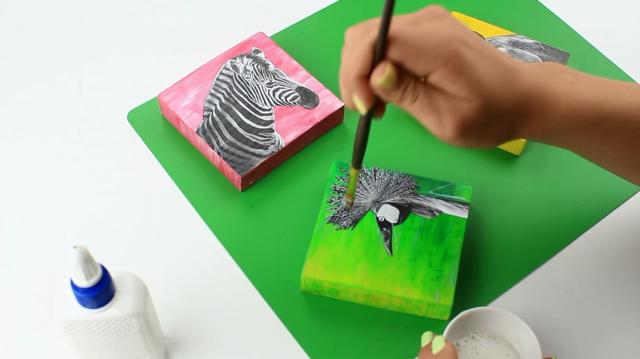
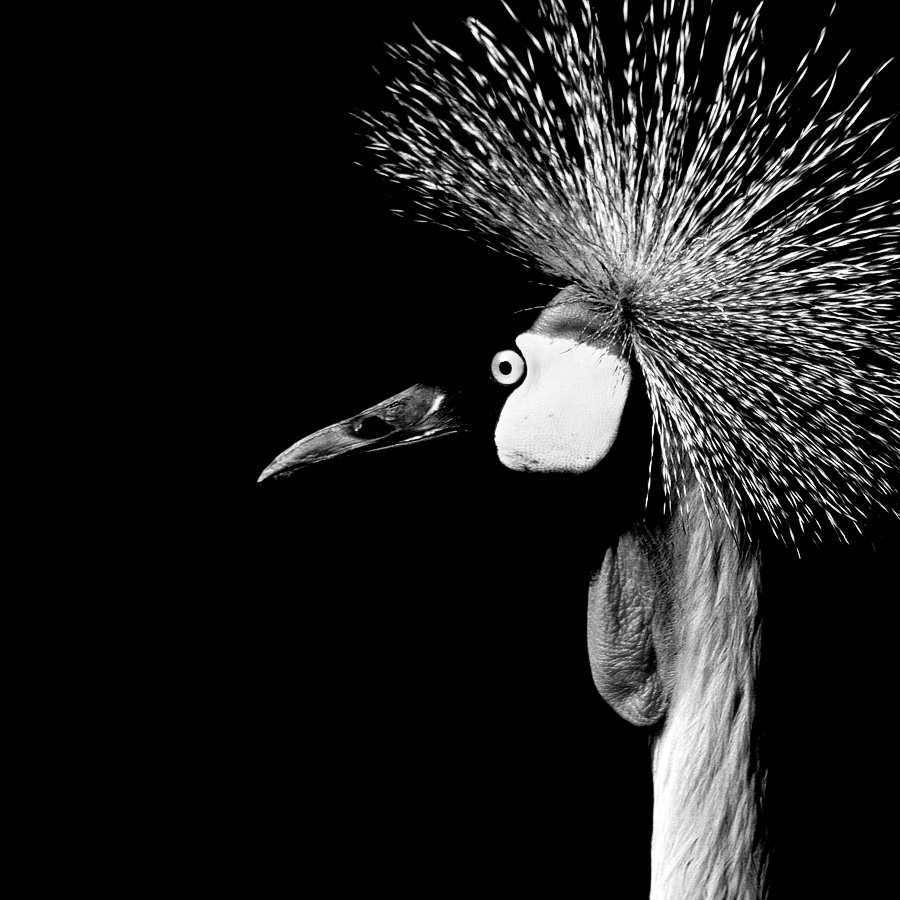
Continue with a bird image.
If some areas don’t stick, add some glue with a brush and press over.

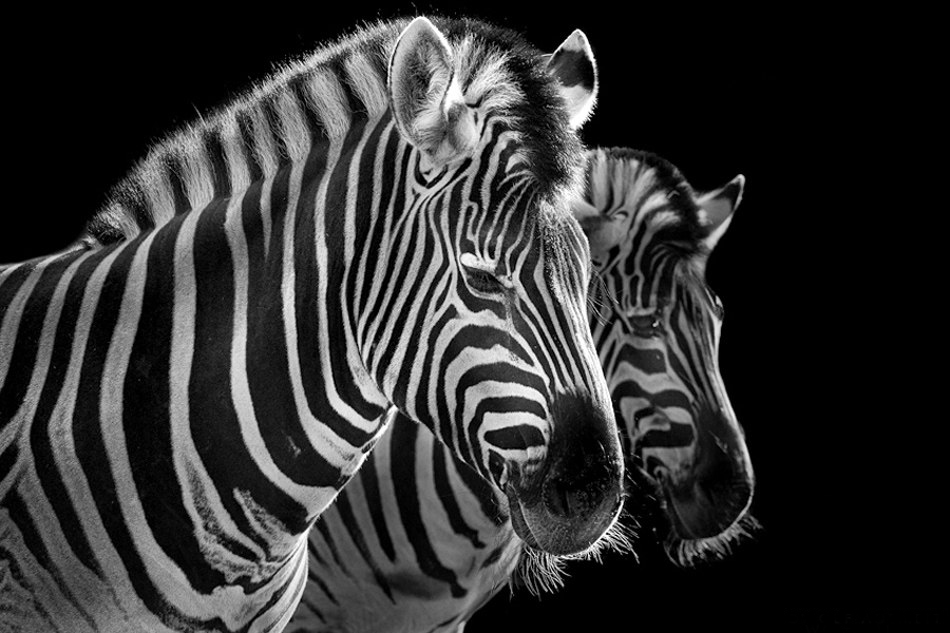
Repeat for a zebra.
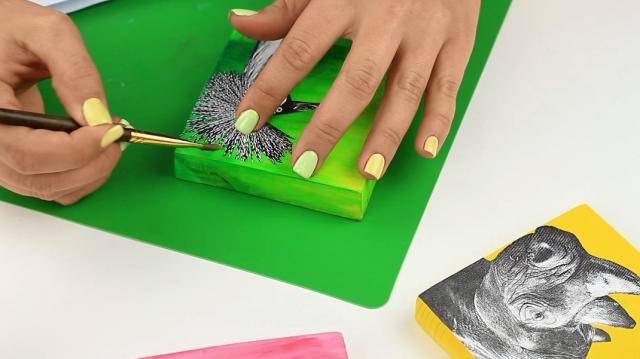
Now let’s cover the crafts with a finishing coat. Use acrylic lacquer. Move the brush from the center towards the edges. Cover the picture first, then the wood.
Be careful with the picture edges.
Keep in mind the sides.
Cover the other wooden squares in the same way.
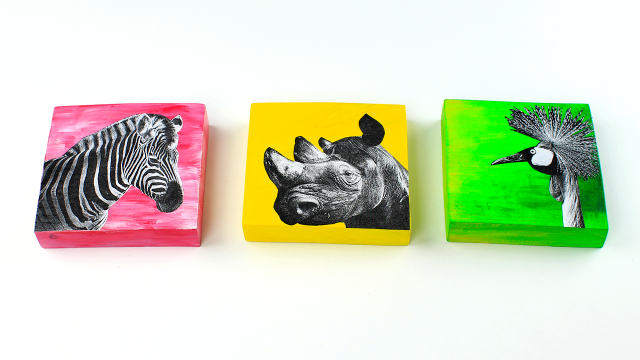
The fabulous decorative squares are ready in 30 minutes, when the lacquer is dry. You can attach loops to hang these wooden crafts onto the wall or place them onto the shelf to add a splash of bright colors to the nursery interior design.
Materials we used for this project:
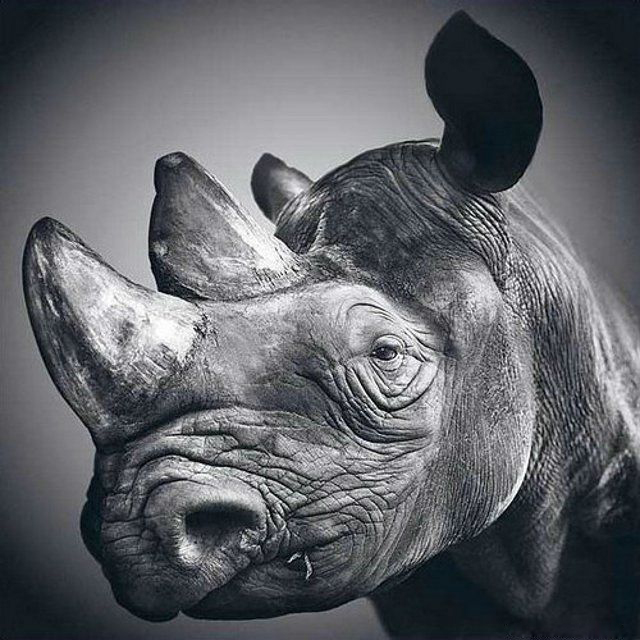
- printed out black and white square animal pictures;
- square wooden blanks of the same size;
- gouache and acrylic paints.
If you're like this project, check out our youtube channel: TroomTroom
- Zebras image download link: http://troomtroom.com/sources/diy_nursery_wall_decor_ideas_-_zebras_imag...
- Rhinoceros image download link: http://troomtroom.com/sources/diy_nursery_wall_decor_ideas_-_rhinoceros_...
- African crowned crane image download link: http://troomtroom.com/sources/diy_nursery_wall_decor_ideas_-_african_cro...

